Server Support Adding DC 2008
When your primary Domain Controller goes down, the Additional Domain Controller comes in to help. Additional Domain Controller provides redundancy, load balancing, and fault-tolerance.
In this short and easy to follow tutorial, we will discuss how you can install additional active directory domain controller in an existing domain.
First things first, let’s take a look at the requirements.
Fundamental Requirements:
- Domain name of the Primary DC
- Administrator credentials of the Primary DC
- IP Address of the Primary DC
- (Both) Server communication required
- Static IP address with correct DNS on local Server
Follow the step by step guide below to install additional active directory DC in an existing domain:
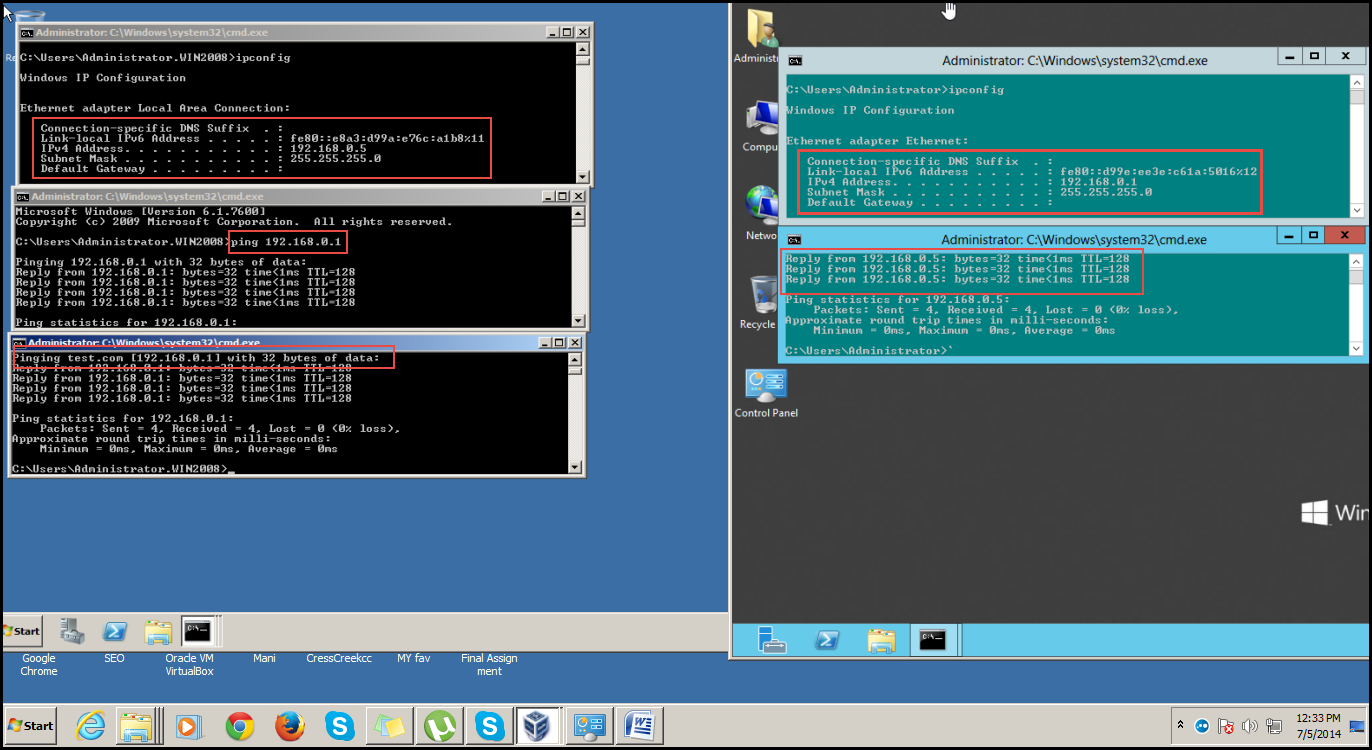
Step 1: Start by checking the network connection between the Domain Controller and Local Server. (Check the screenshot below)
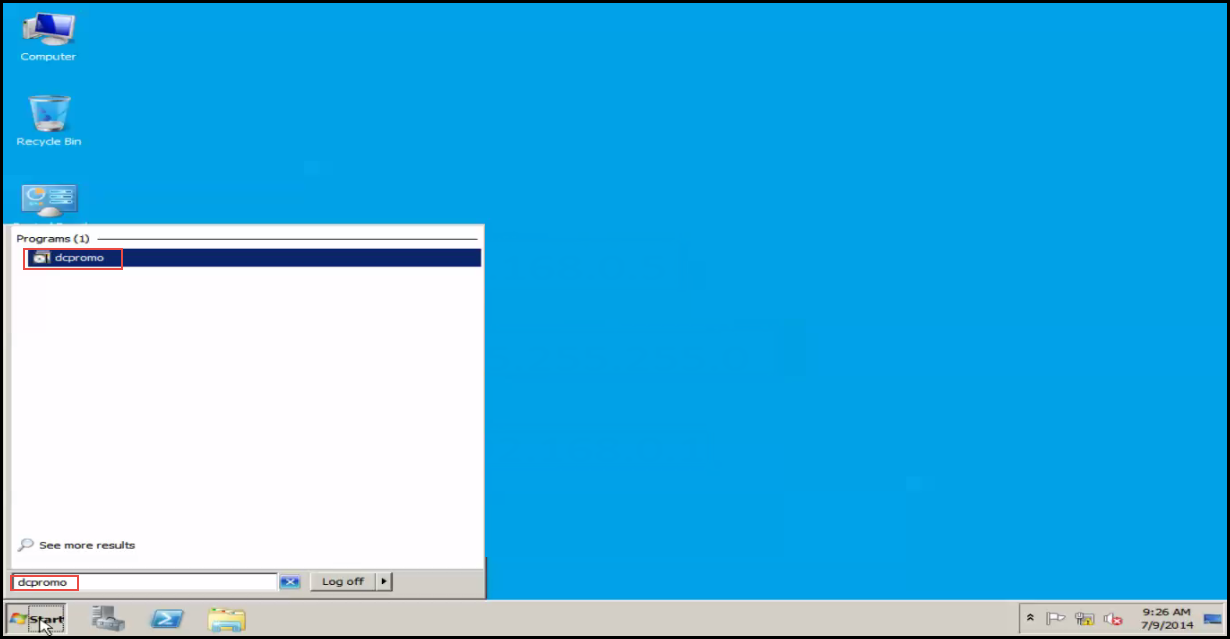
Step 2:Run the “dcpromo” command on the local server.(Check the screenshot below)
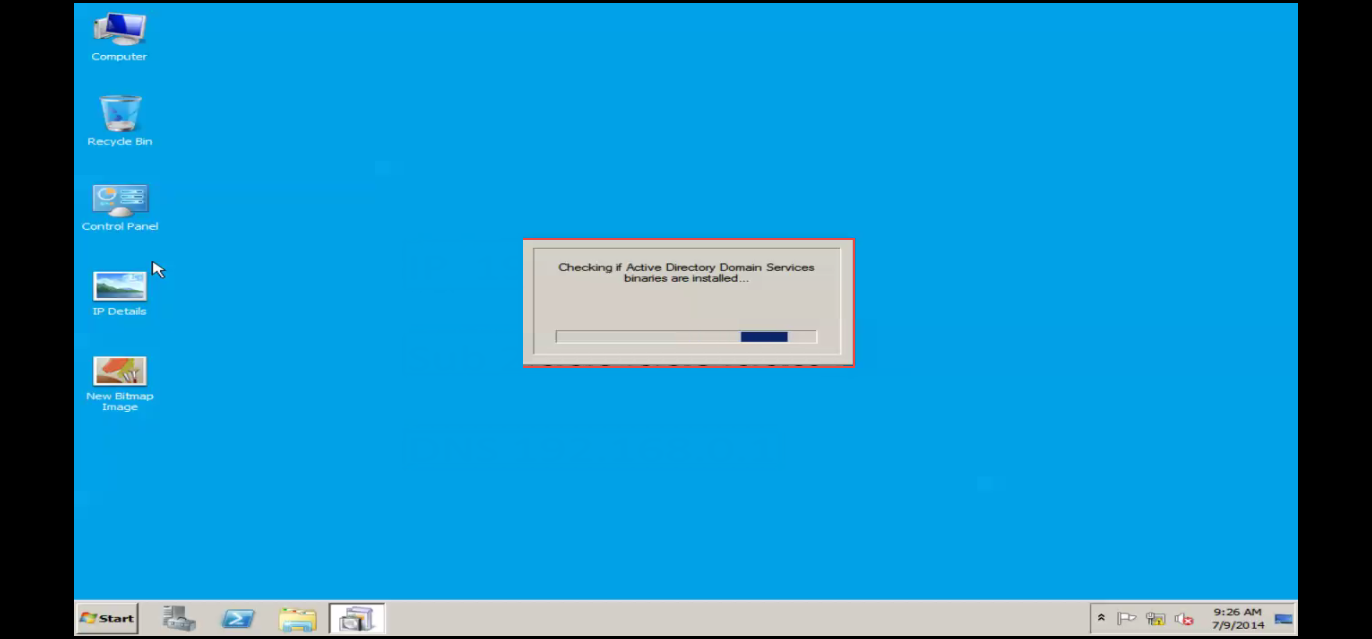
Step 3: Checking binaries. (Check the screenshot below)
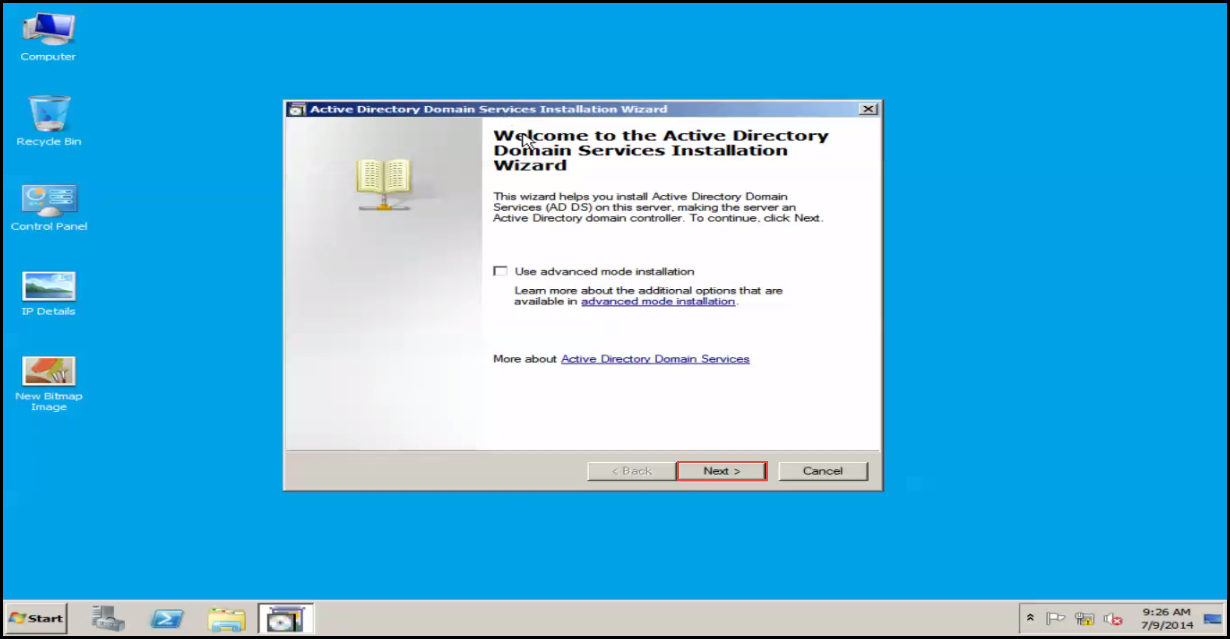
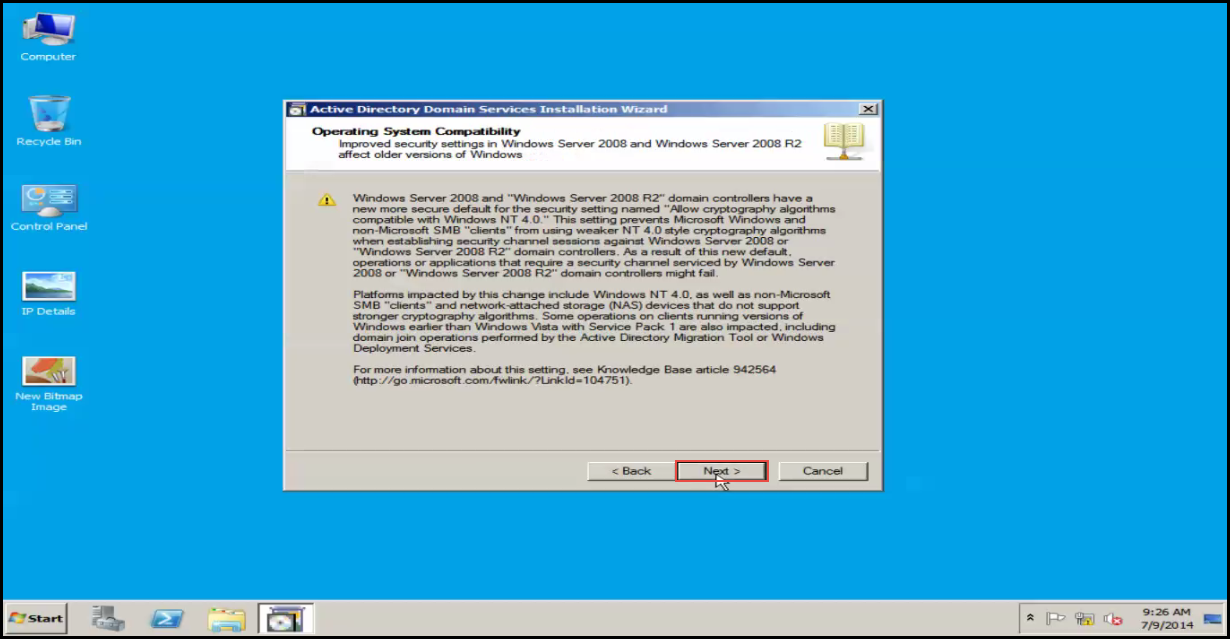
Step 4: Click on the “Next” button. (Check the screenshot below)
Step 5: Click on the “Next” button, again. (Check the screenshot below)
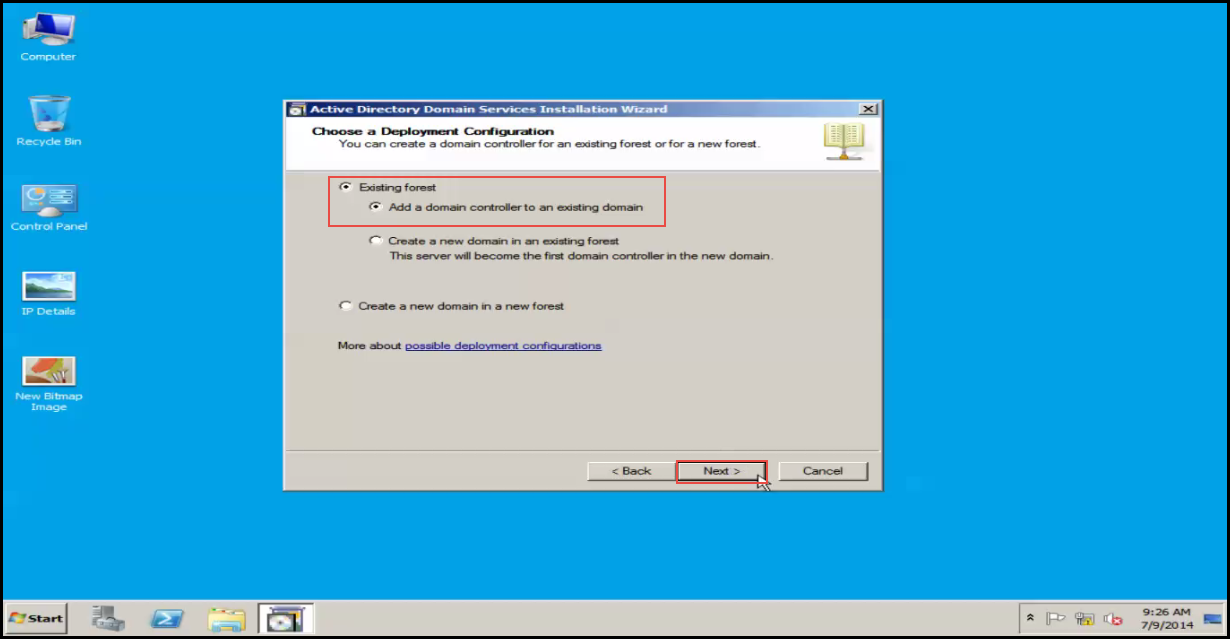
Step 6: Select the “Existing Forest” option and then, select the “Add a domain controller to an existing domain” option to proceed. (Check the screenshot below)
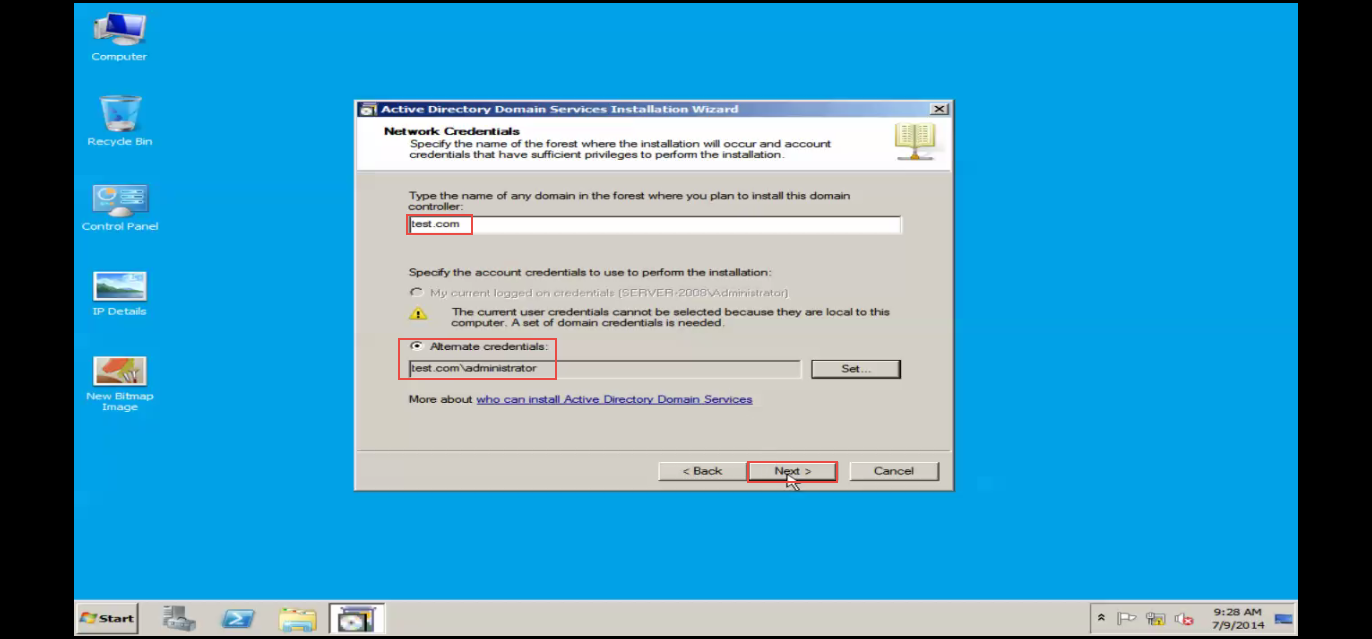
Step 7: Enter your domain name and set the domain controller administrator credential. (Check the screenshot below)
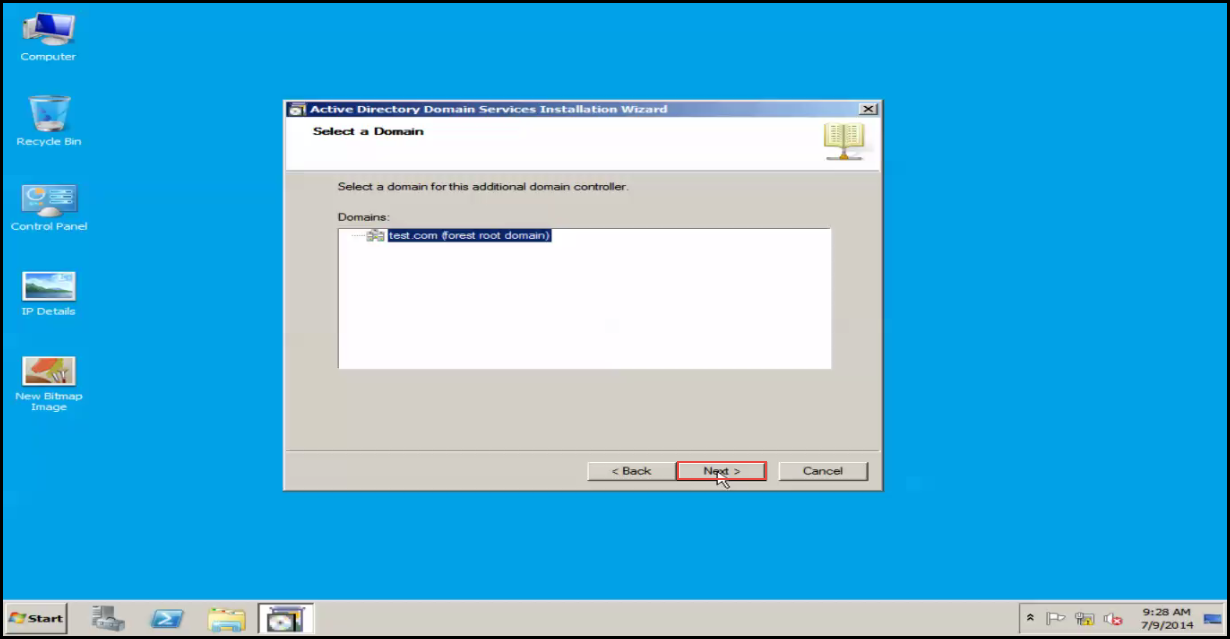
Step 8: Click on the “Next” button. (Check the screenshot below)
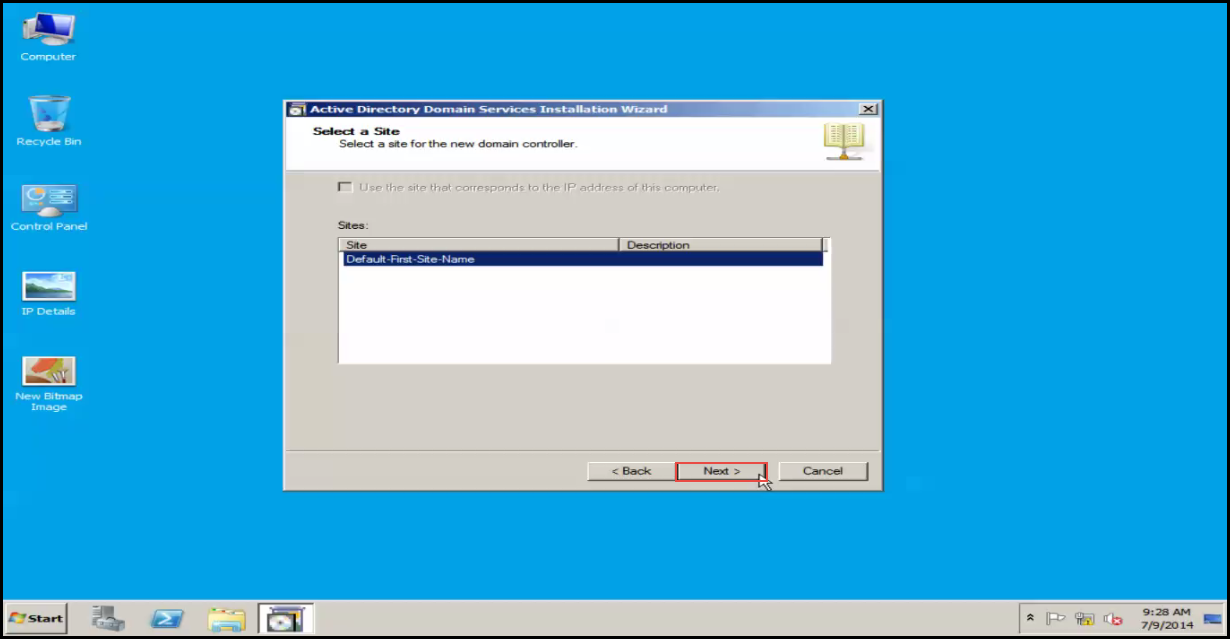
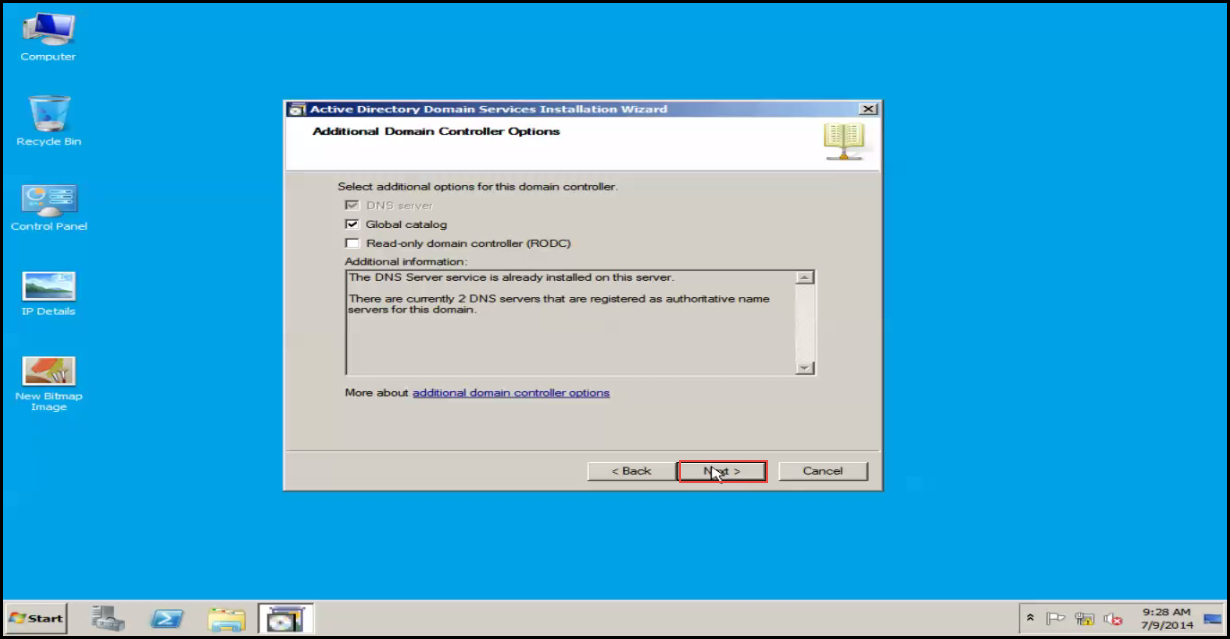
Step 9: Click on the “Next” button once again. (Check the screenshot below)
Step 10: Click on the “Next” button one more time. (Check the screenshot below)
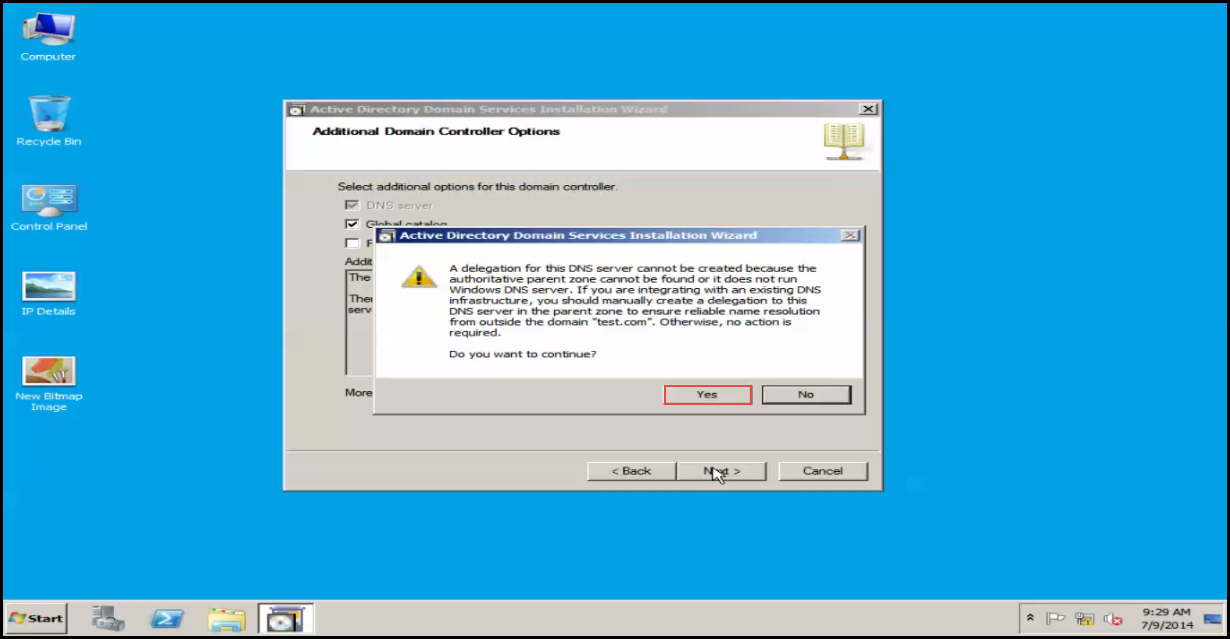
Step 11: Hit on the “YES” button. (Check the screenshot below)
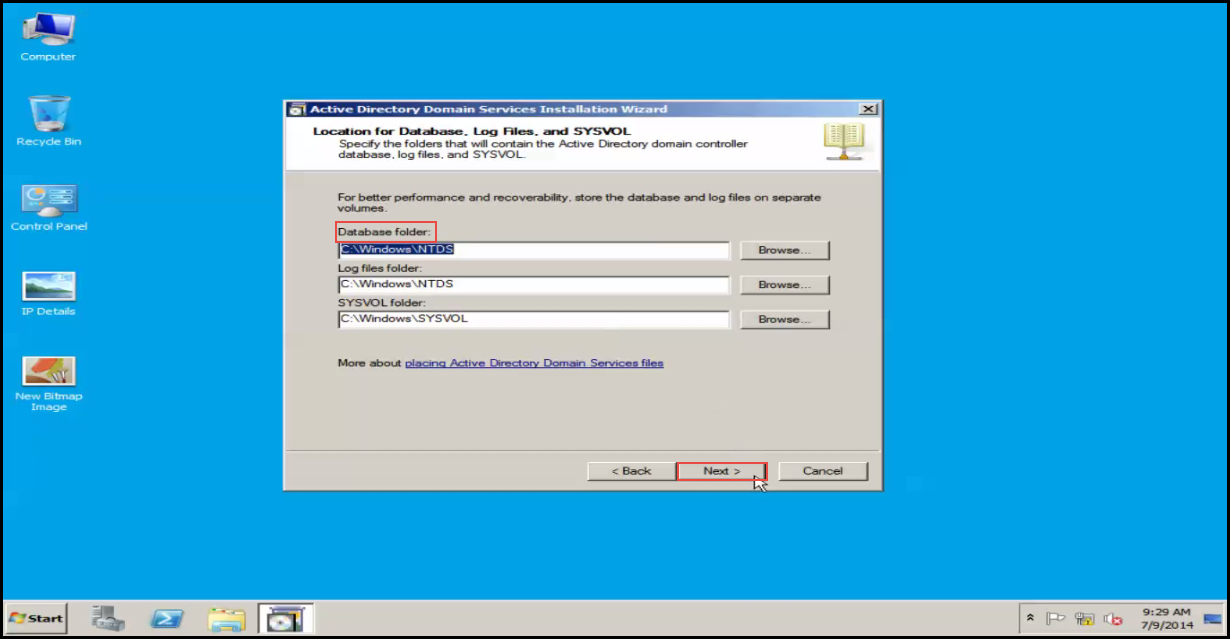
Step 12: Select the “Database folder” destination and click on the “Next” tab to continue. (Check the screenshot below)
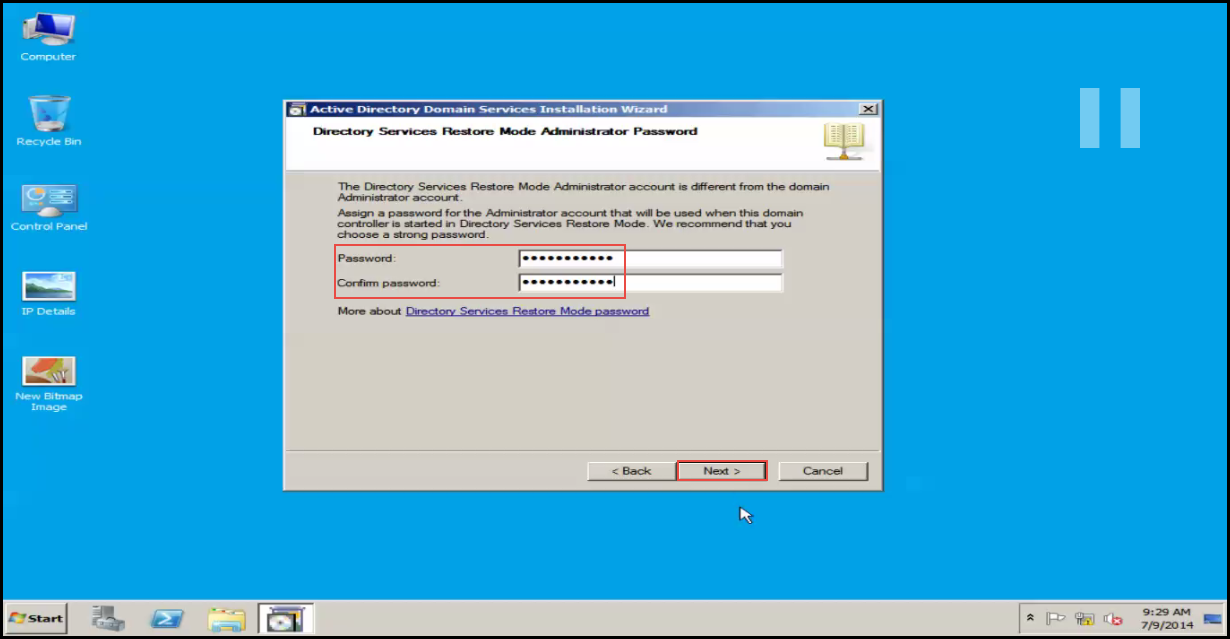
Step 13: Enter the “Directory Services Restore Mode Administrator Password.” (Check the screenshot below)
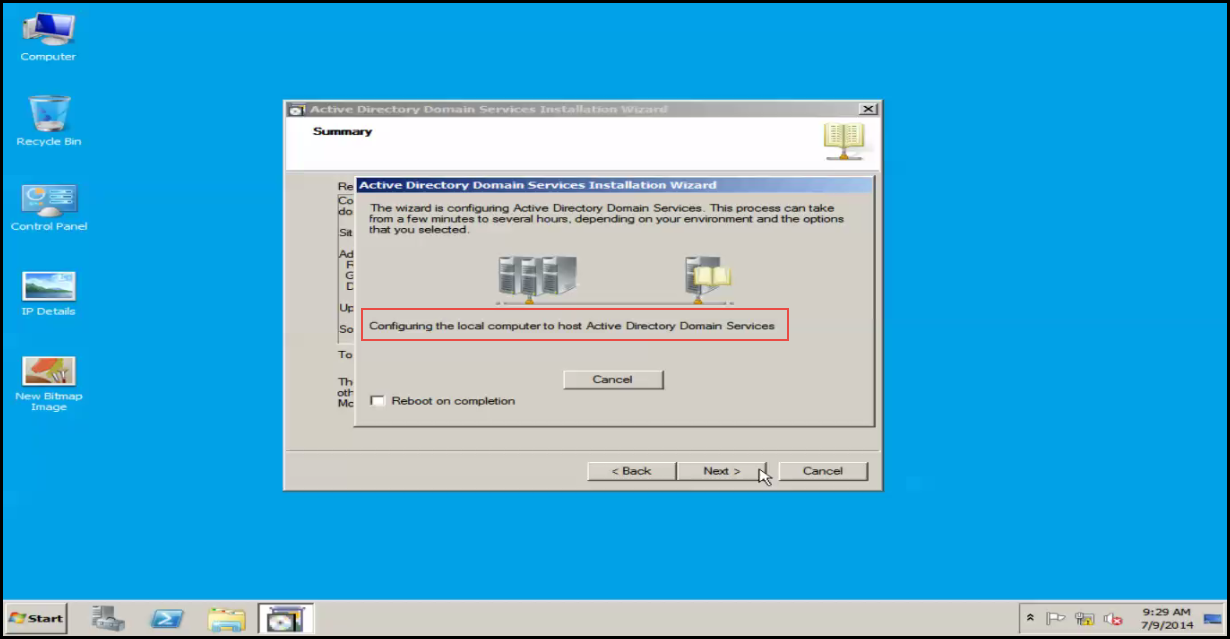
Step 14: Now, the installation of additional domain controller will start in Windows Server 2012. (Check the screenshot below)
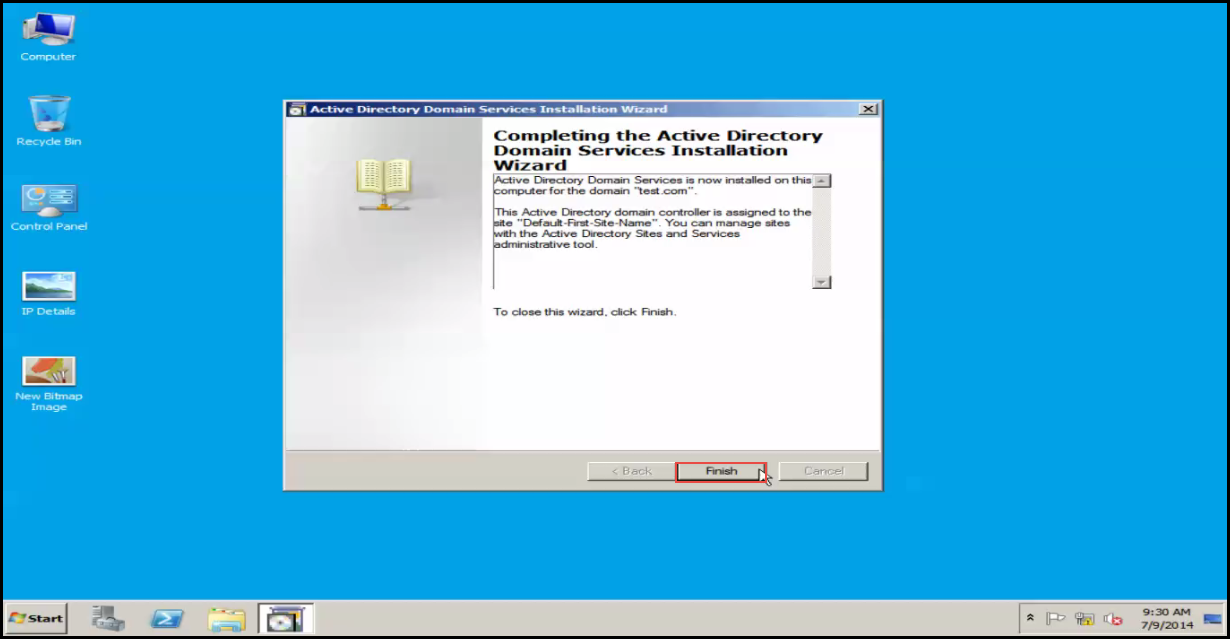
Step 15: Click on the “Finish” button. (Check the screenshot below)
Step 16: Click on the “Restart now” option.
Step 17: Hit the “Ctrl + Alt + Del” shortcut key to log on. (Check the screenshot below)
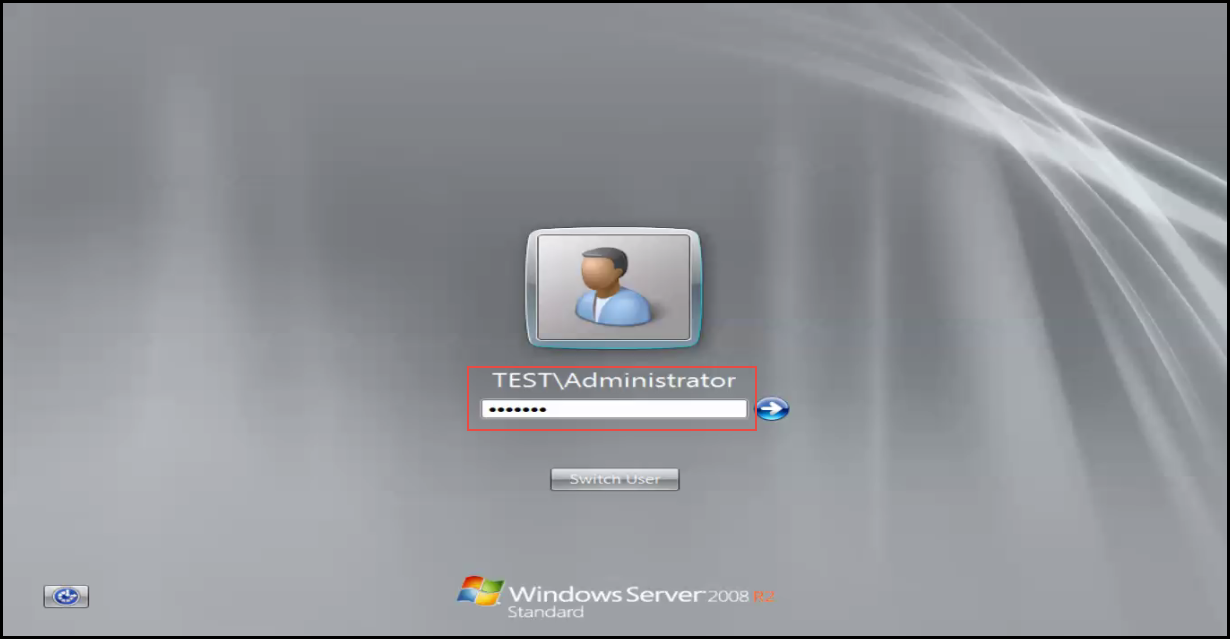
Step 18: Enter your administrator password. (Check the screenshot below)
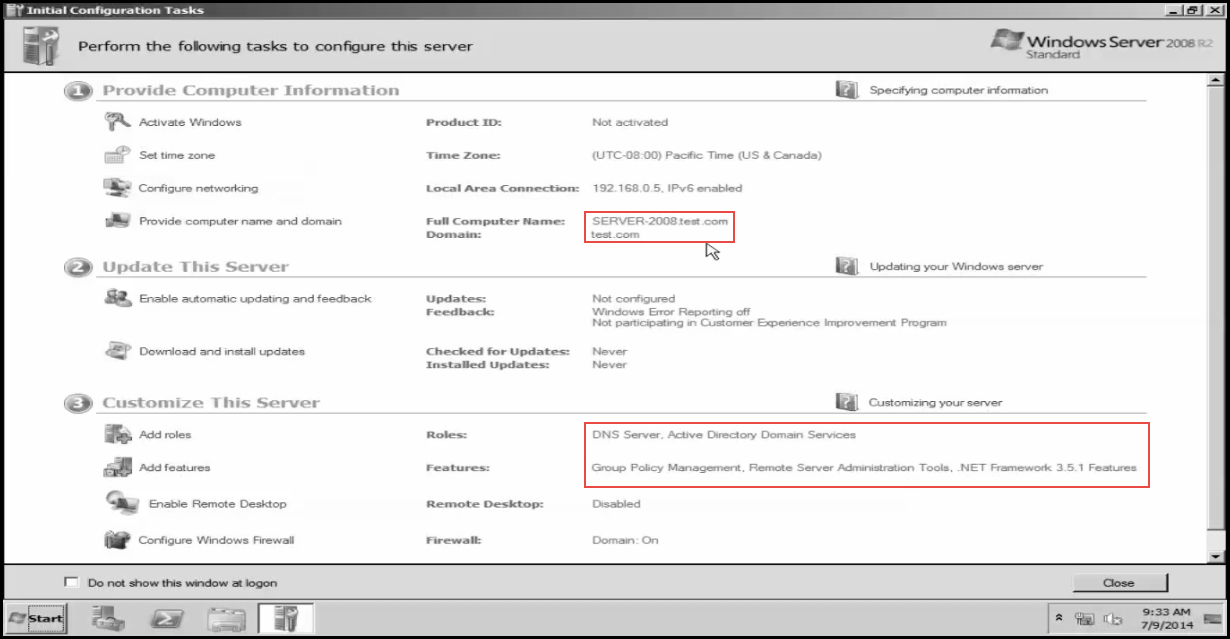
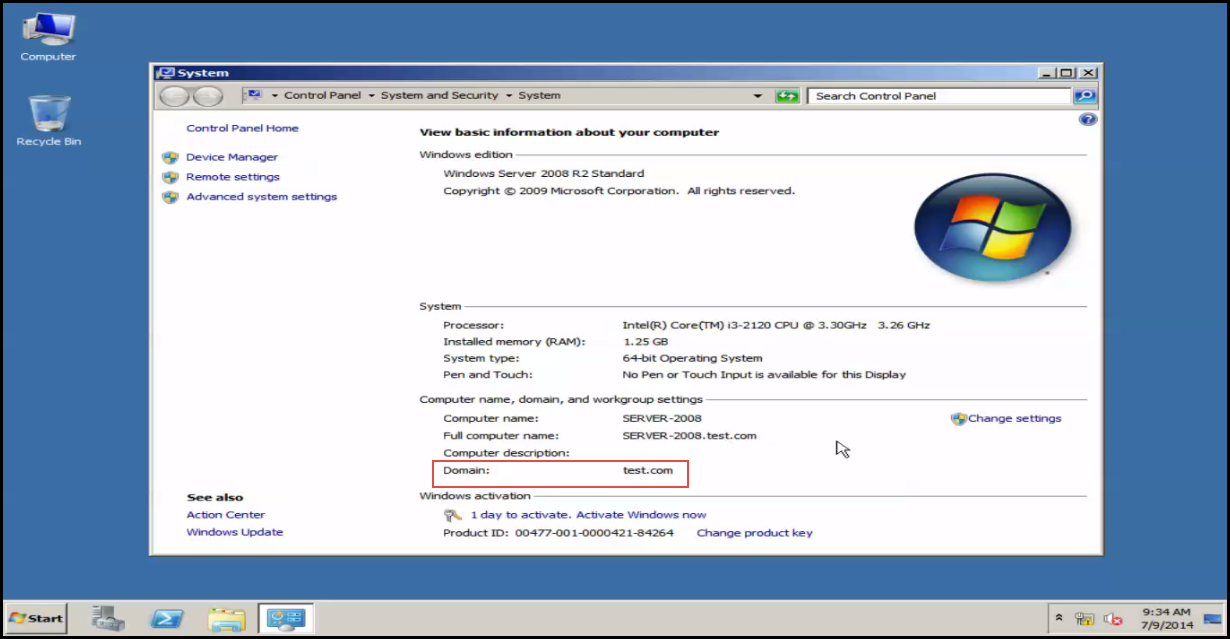
Step 19: Here, you have got your Local Server promoted as an additional domain controller. (Check the screenshot below)
Step 20: Now you have two domain controllers in your Windows Server 2012 environment. (Check the screenshot below)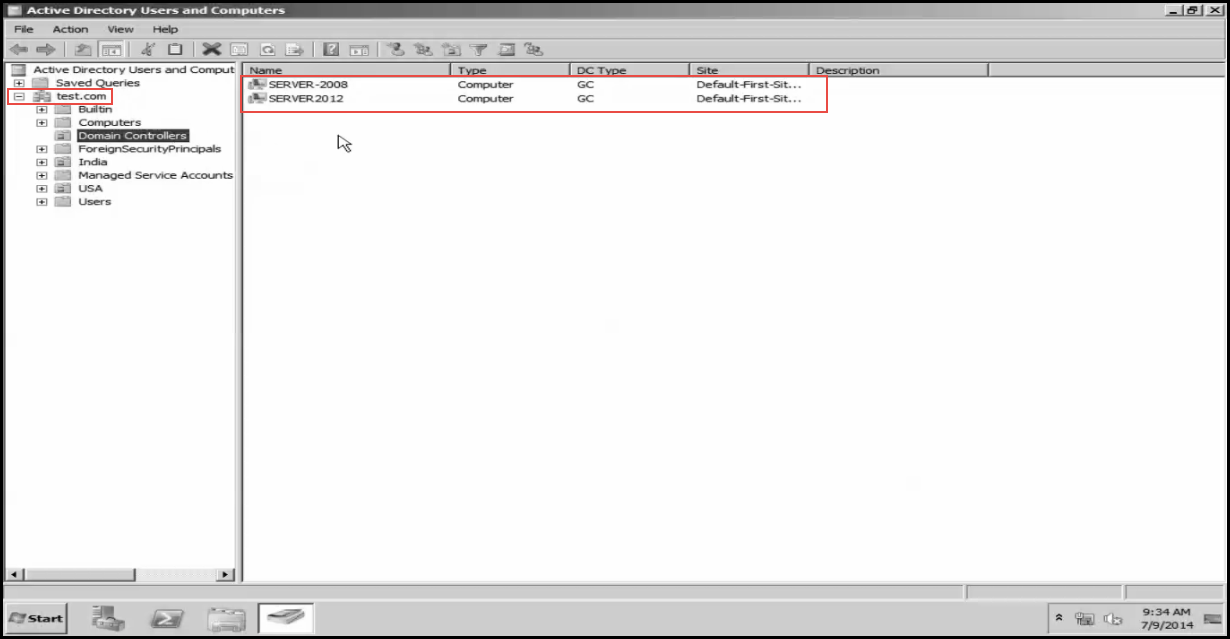
In case you ran into some difficulties while trying to add a new domain controller in Win Server 2012, narrate your problem and doubts (if any) in the comment section below. An experienecd professional with years of experience in Windows Server 2012 usage will get back to you with the nearst possible solution.


