Create Windows Server 2012 Installation Guide
This step by step guide is for the new version of Microsoft Windows Server 2012. The new version of MS Server 2012 includes various features that make it simpler and faster to deploy domain controllers.
Before you start installing MS Server 2012, make sure you’ve the right hardware.
Hardware Requirements
- Processor 1.4 GHz (64-bit processor) or faster for single core 3.1 GHz (64-bit processor) or faster multi-core
- RAM 2 GB (Minimum) 8 GB Recommended
- HDD 160 GB hard disk with a 60 GB system partition
- DVD writer
- Super VGA (1024 x 768)
- Keyboard Mouse
- Internet Access For Windows Update or bugging
Here’s a step by step guide on how to install Microsoft Windows Server 2012
- Insert the Windows Server 2012 DVD in the DVD drive.
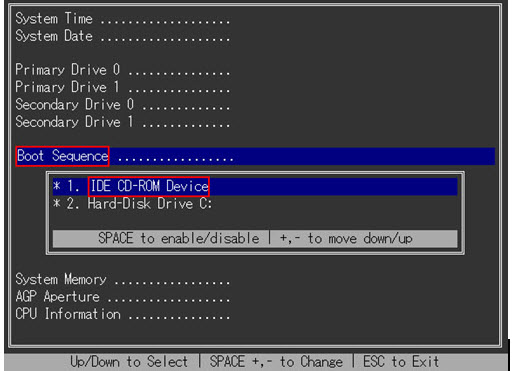
- Make sure that DVD ROM is selected as the 1st boot device in BIOS Settings. (Check the screenshot below)
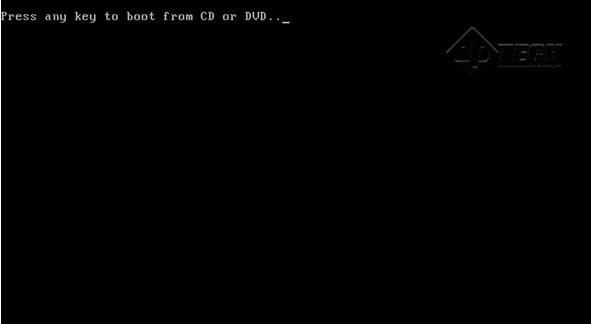
- Restart you system. As your system boots up, press any key to boot from the Windows Server 2012 DVD you’ve just inserted. (Check the screenshot below)
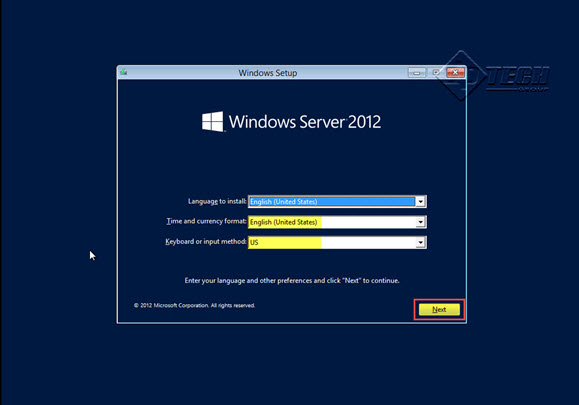
- Select the Operating System Language, Time, and Keyboard or input method in the next window. Click on the “OK” button to proceed. (Check the screenshot below)
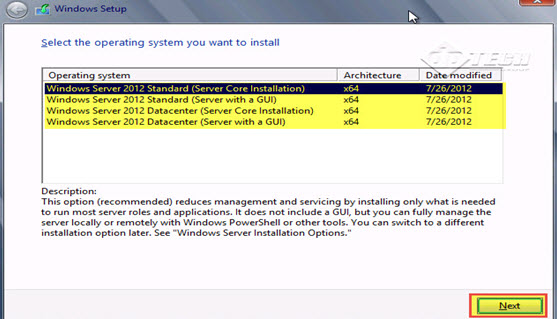
- Select the Windows Server 2012 Edition which you want to install as shown in the screenshot below. Now, click on the “Next” button to continue.
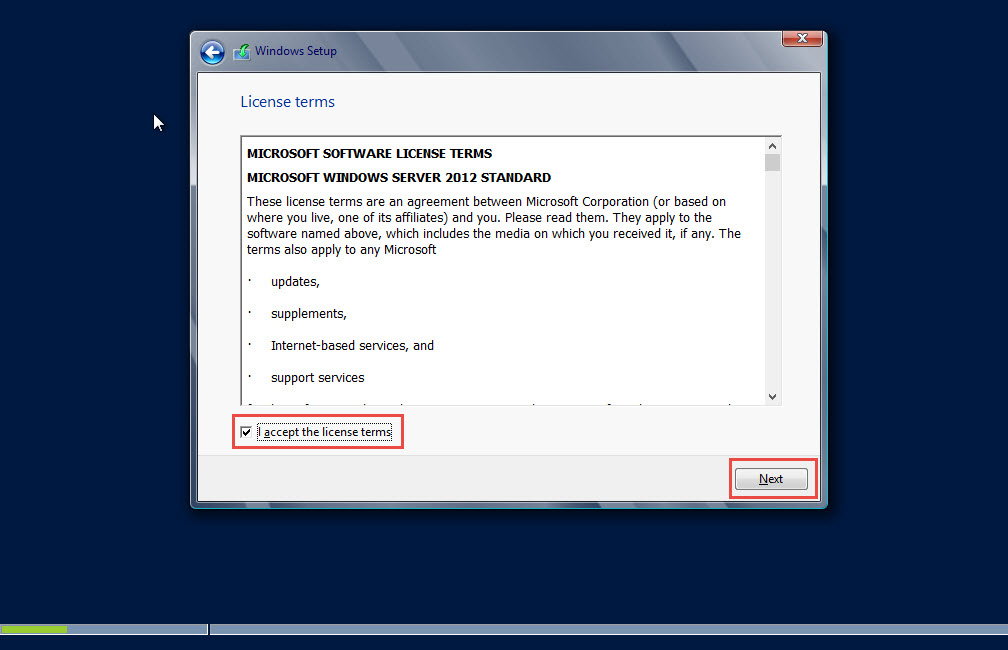
- Check the “I accept the license terms” option at the bottom of the next window on your screen and click on the “Next” button. (Check the screenshot below)
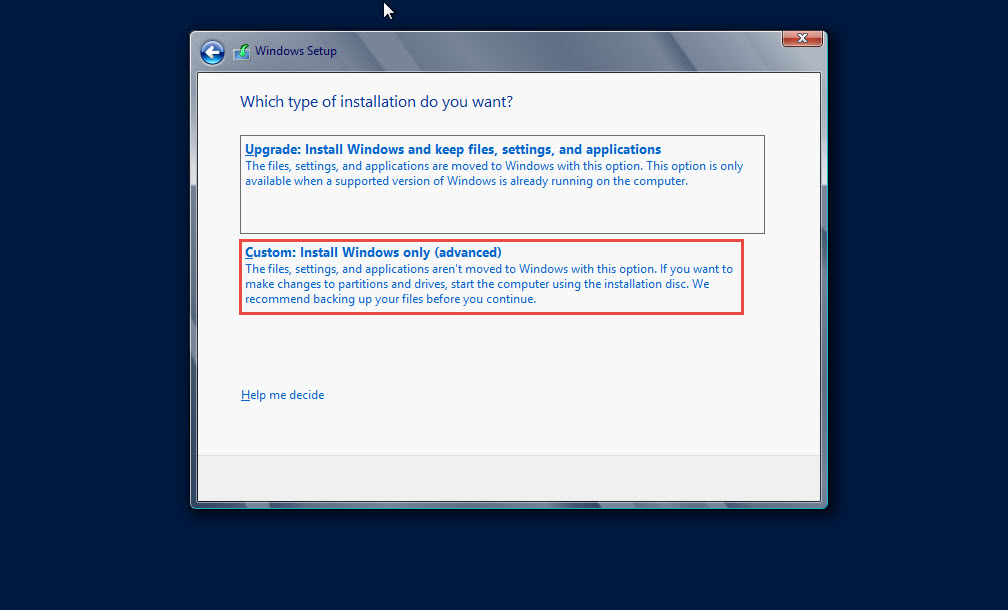
- Click on the “Custom: Install Windows only (advanced)” section to install MS Server 2012. (Check the screenshot below)
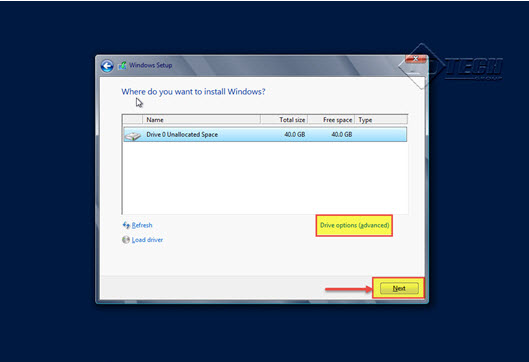
- Click on the “Drive Options” link and then, click on the “Next” button if you have installed a new hard drive. (Check the screenshot below)
- Click on the “New” button and next, click on the “Next” button. (Check the screenshot below)
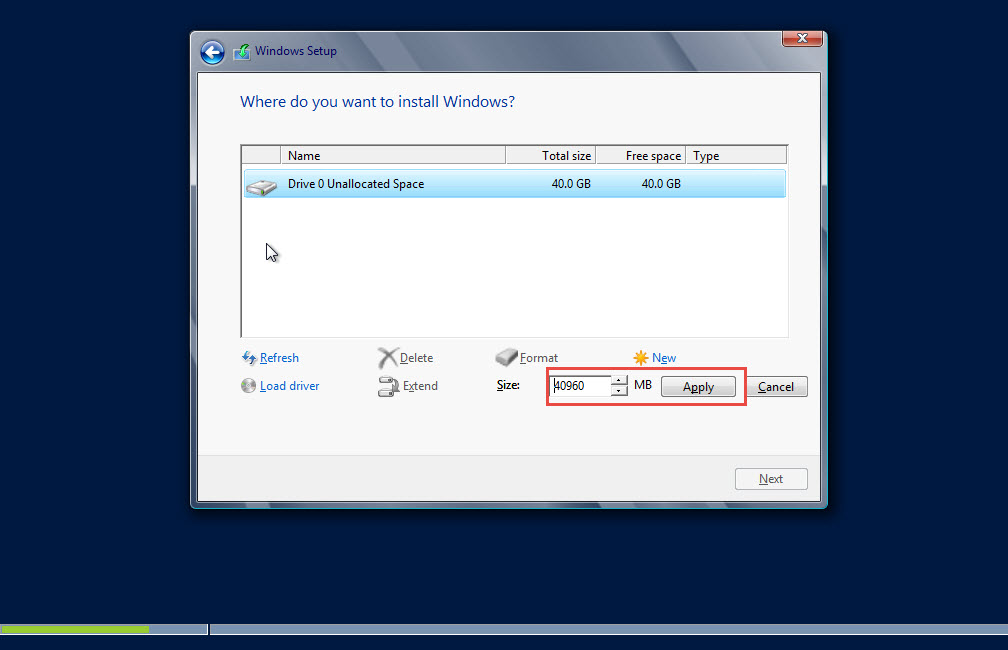
- Enter the desired disk size for your new partition. Click on the “Apply” button to confirm the changes. (see screenshot below)
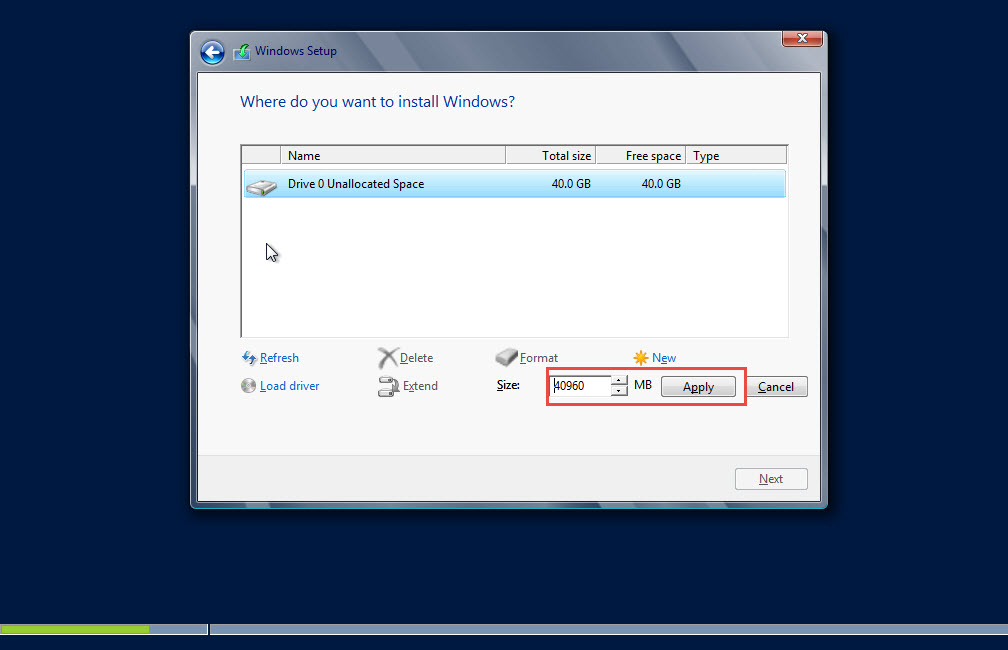
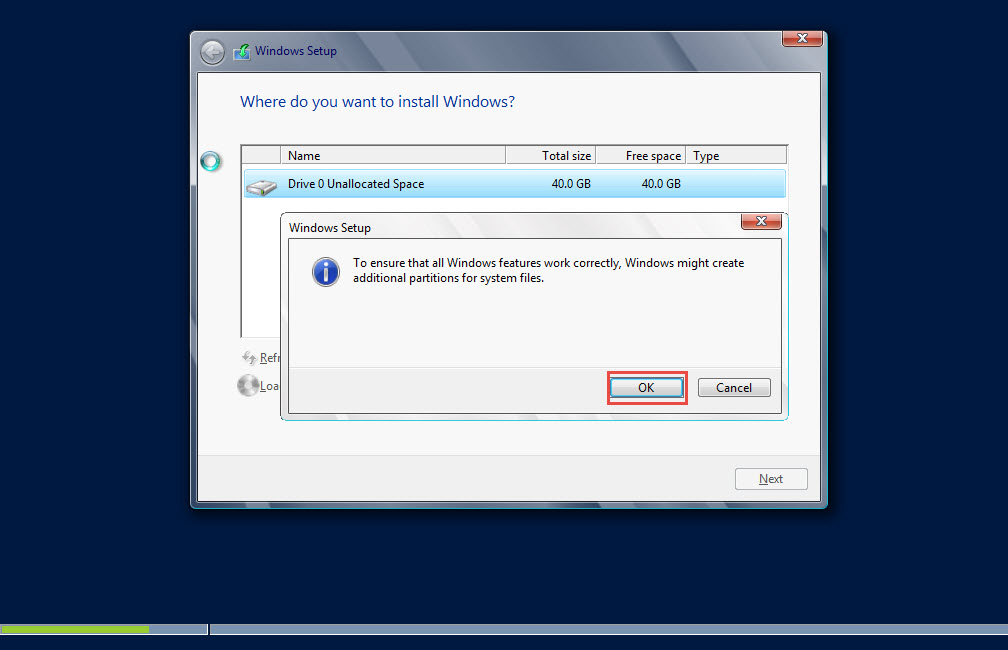
- A warning message will appear on your screen. Here, for example, the setup utility says that an additional portion of 350 MB drive has been created for system files.
- Click on the “OK” button to continue. (Check the screenshot below)
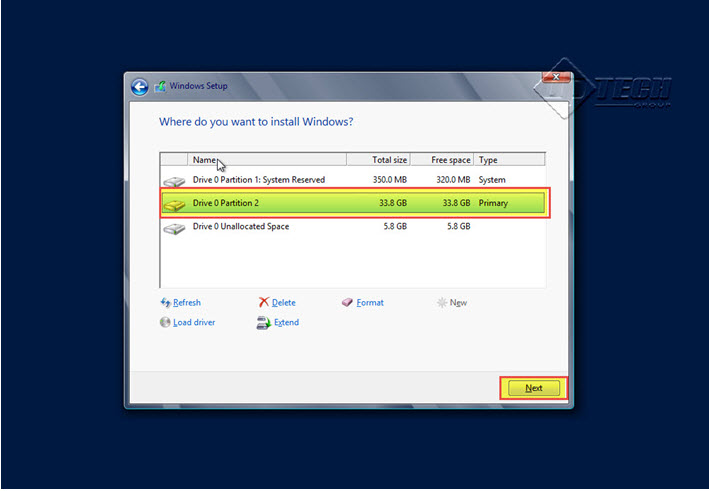
- Now, select the drive where you want to install Microsoft Windows Server 2012.
- Click on the “Next” button to proceed. (see screenshot below)
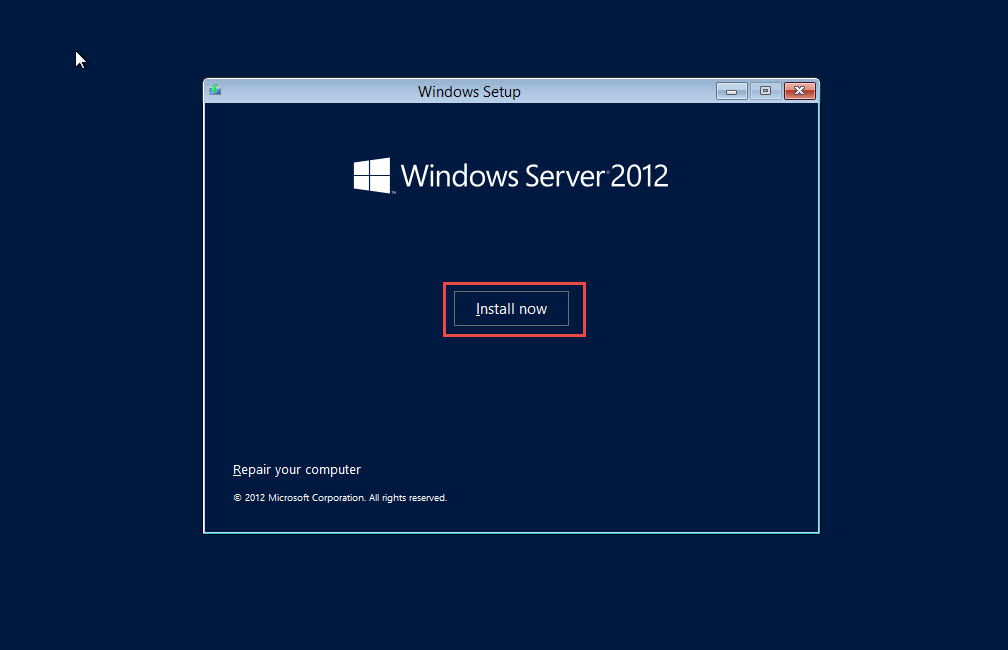
- Click on the “Install now” button to initiate the installation of Windows Server 2012. (see screenshot below)
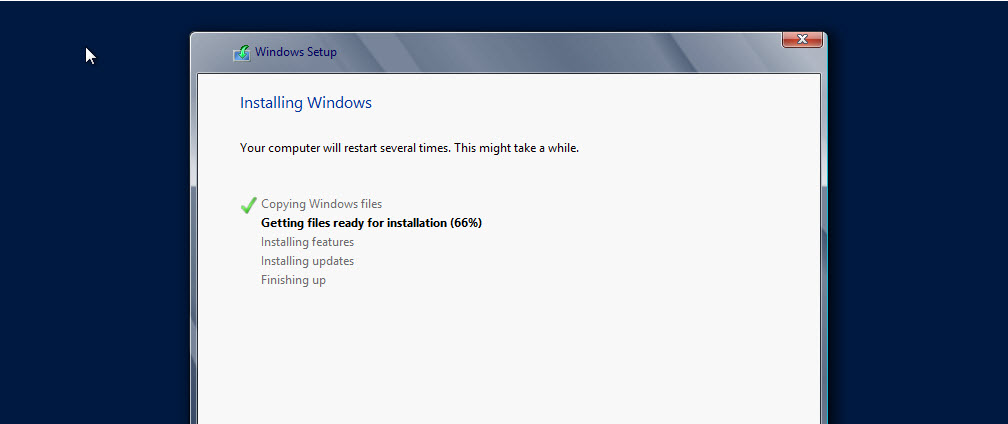
- Now, the MS server 2012 installation utility begins copying Windows files and getting the files ready for installation. (Check the screenshot below)
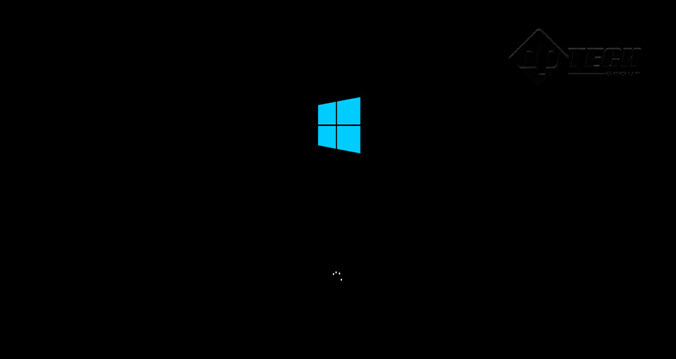
- The machine will reboot when all files have been copied and prepared for installation. The setup continues after that. (Check the screenshot below)
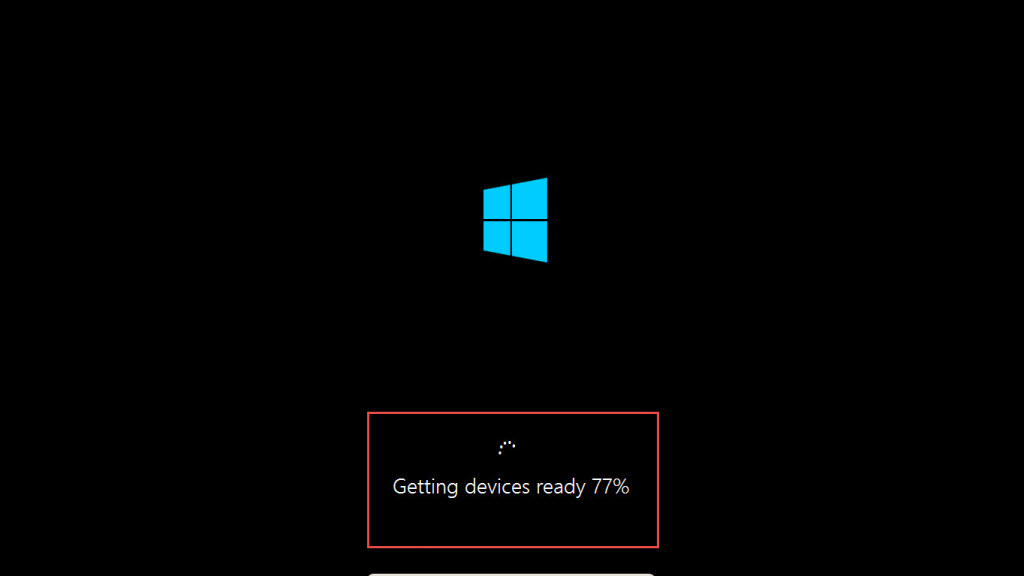
- Now, your MS Server 2012 is getting ready for use. (Check the screenshot below)
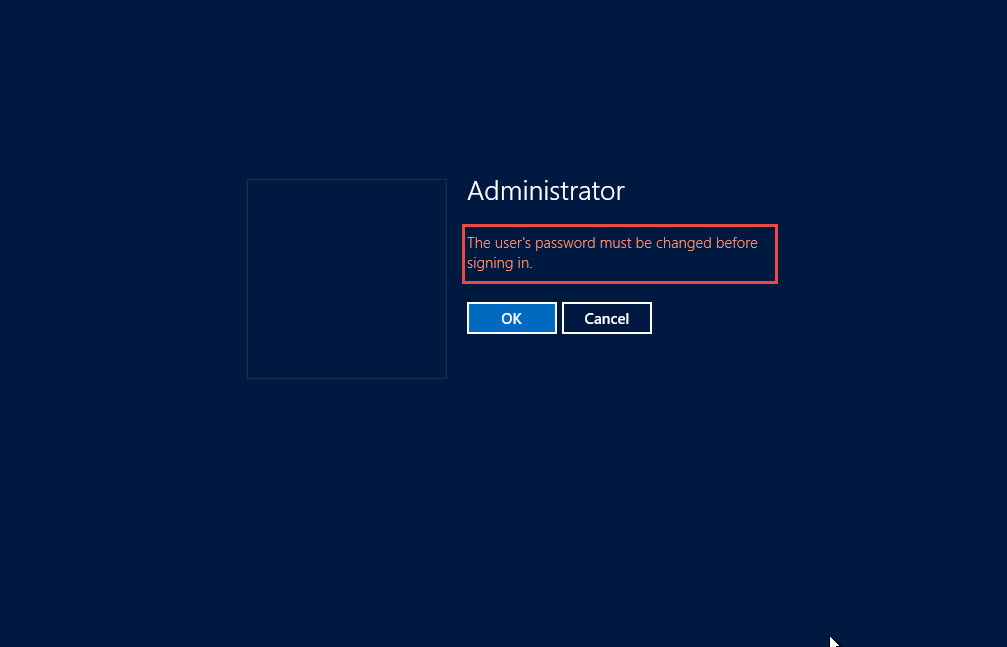
- Click on the “OK” button to continue. (Check the screenshot below)
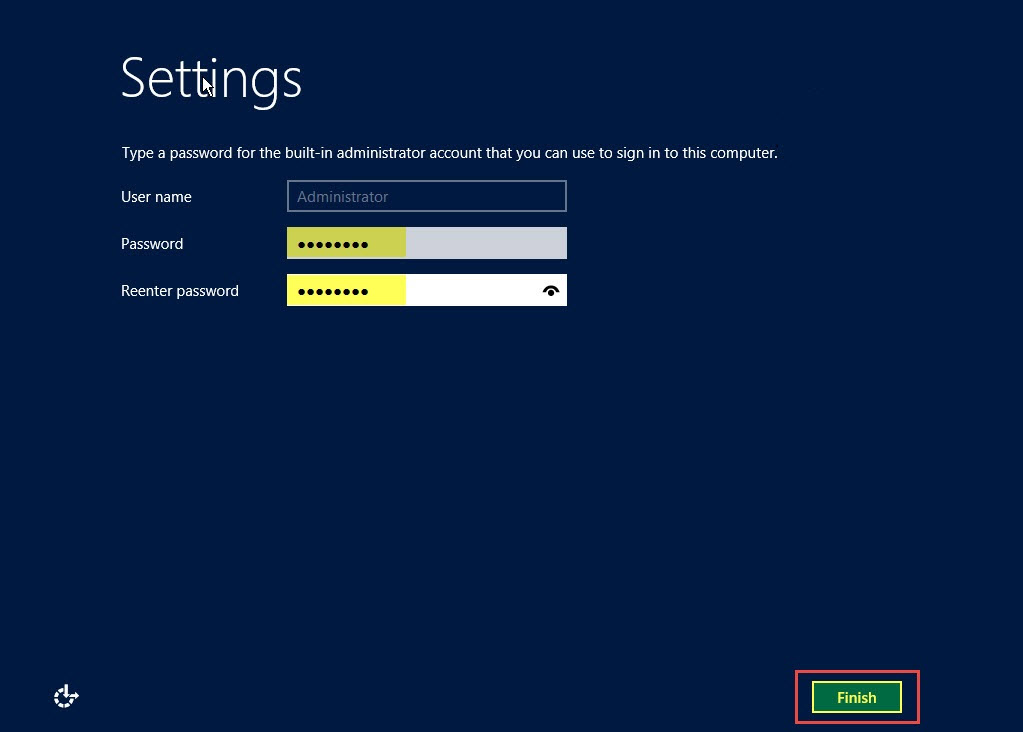
- Enter the desired Administrator Password. Re-enter the password and confirm it to login into the MS Server 2012.
- Click on the “Finish” button. (Check the screenshot below).
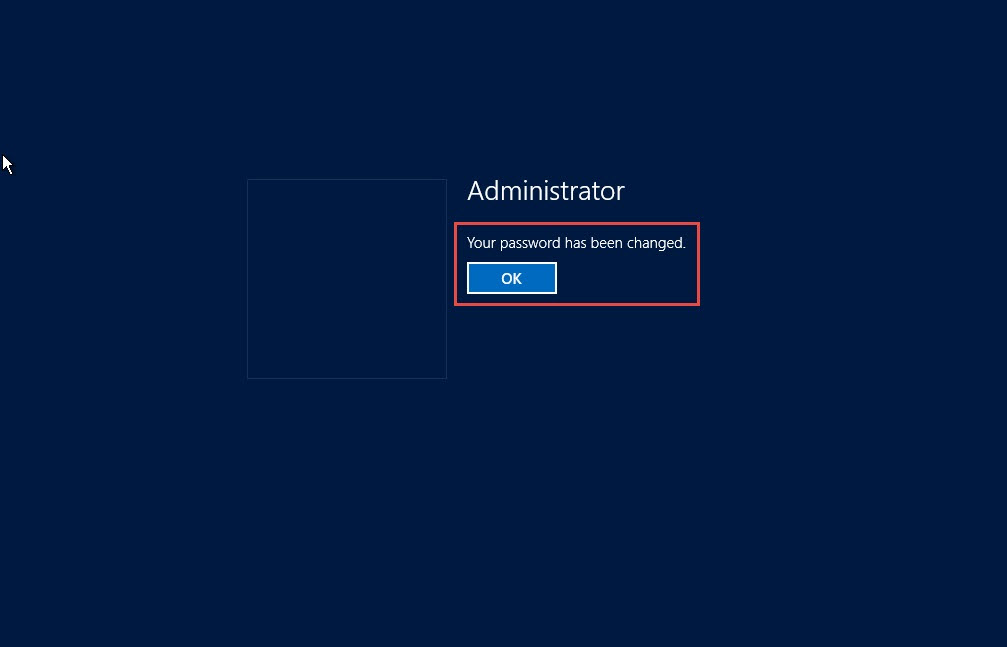
- Click on the “OK” button. (Check the screenshot below).
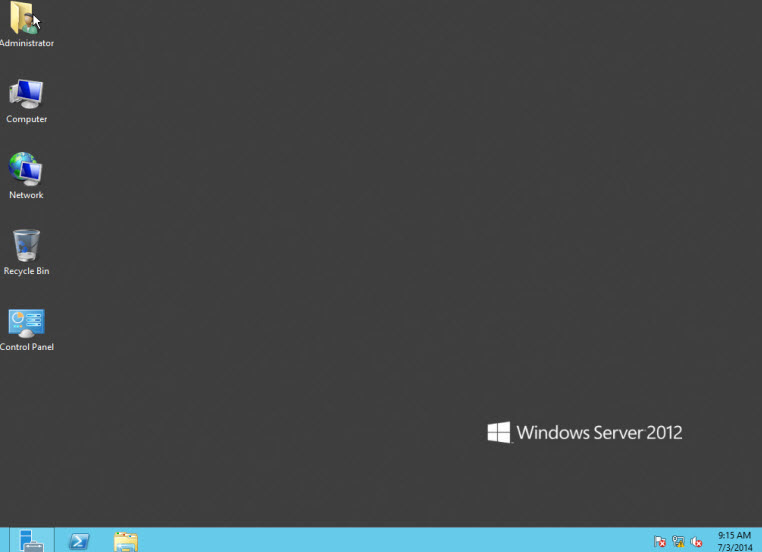
- Congratulations! The installation of Microsoft Windows Server 2012 is now complete.
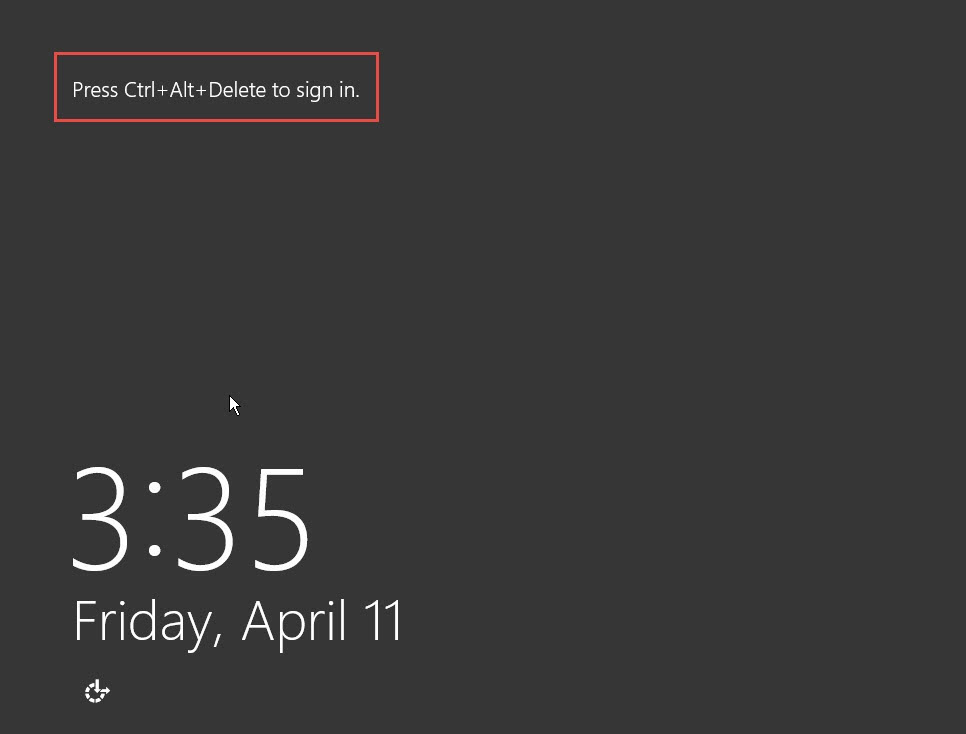
- Press Ctrl+ Alt+Del to sign in. (Check the Screenshot below).
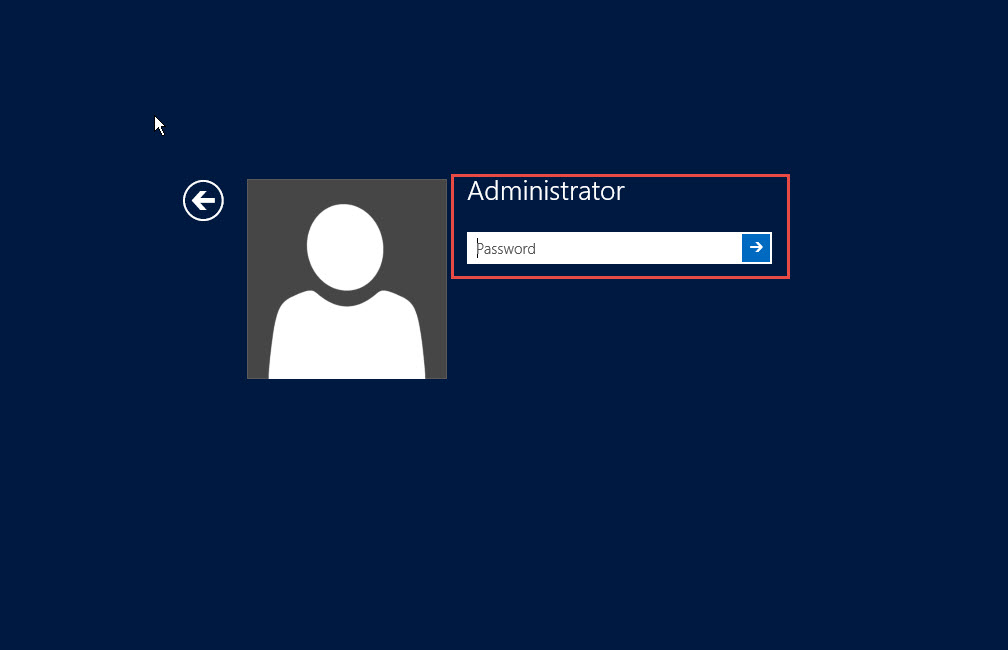
- Enter the Administrator Password to access MS Server 2012. (Check the Screenshot Below).
- MS Server 2012 is now ready for use. (Check the screenshot below)
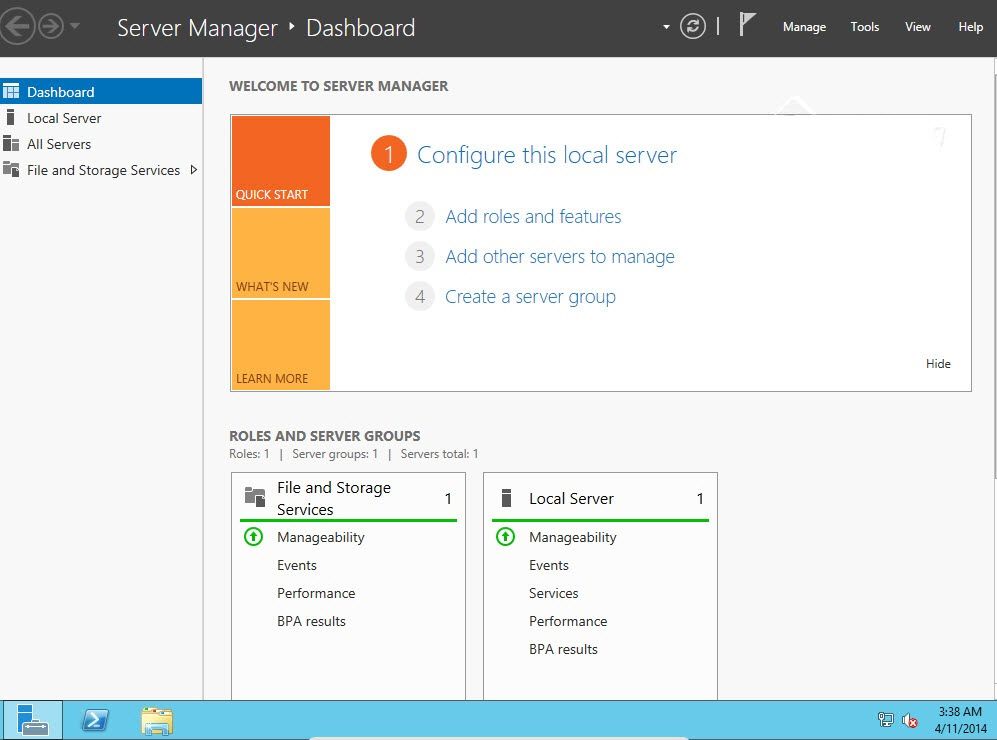
- MS Server 2012 dashboard is ready for use. (Check the screenshot below)
Facing Any Difficulties?
If you were unable to successfully install MS Server 2012, let us know in comments. We will do our best to guide you on how to install Microsoft Windows Server 2012. You can also ask for help in case your MS Server 2012 is not running as it ideally should!


