To create inbox rules that can automatically manage your messages as you receive them, follow these steps:-
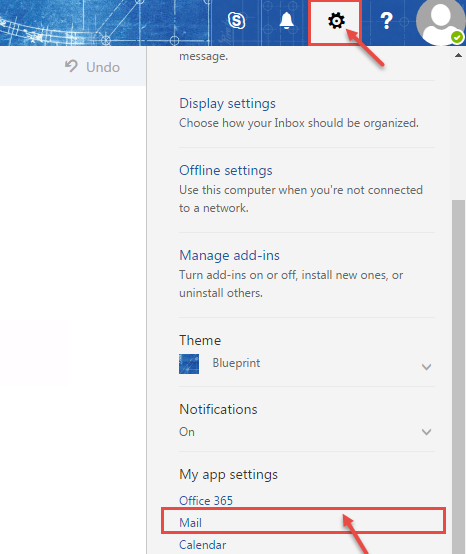
- From the Outlook app, select the gear icon (settings) in the upper-right corner of the screen and select “Mail”.
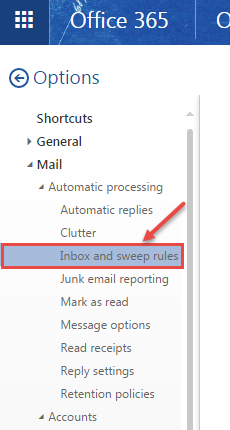
- Options window appears on your desktop. In the Options screen, expand “Mail” -> “Automatic processing“, and select “Inbox and sweep rules” option.
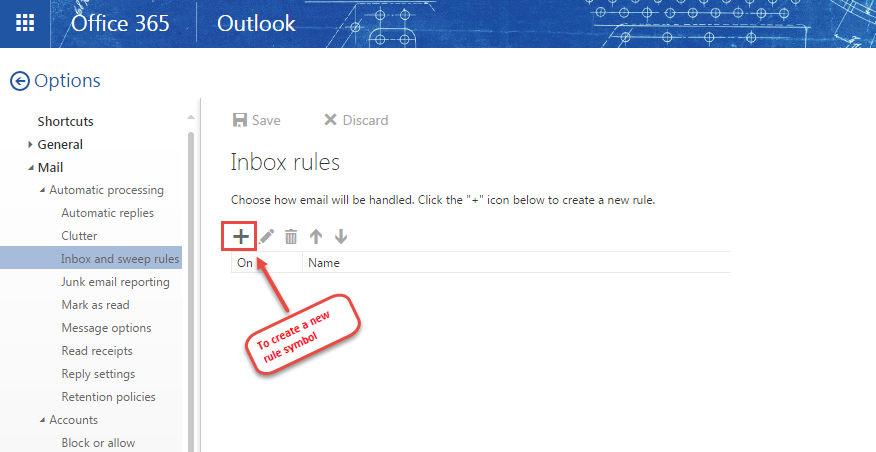
- “Inbox rules” window opens up. Click the Plus (+) symbol to create a new rule.
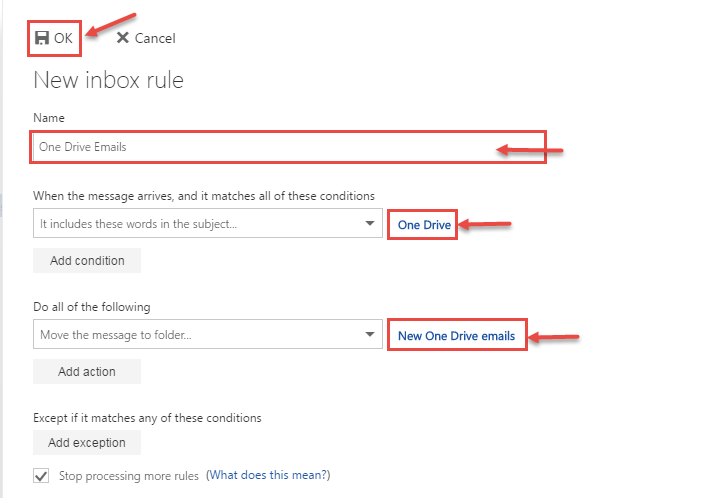
- “New Inbox Rule” window opens on your screen. Fill all details as per the requirement. Refer following steps for further details:-
- Name: Enter the name for the rule.

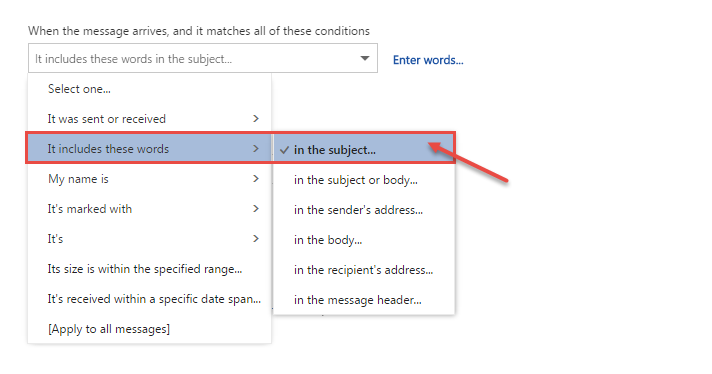
- When the message arrives, and it matches all of these conditions: In this drop-down list, choose a condition or multiply conditions you want. We have selected “It includes these words > in the subject” option.
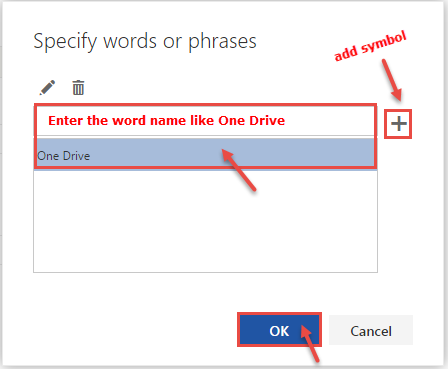
 Now, Enter the keyword in “Specify words or Phrases” box and click “+” symbol to add this word or phrases. Click OK button to save the changes..
- Do all of the following: In this dialog box, you specify the action once the condition is fulfilled. In following image, we have selected – “Move copy or delete > Move message to the folder” option.
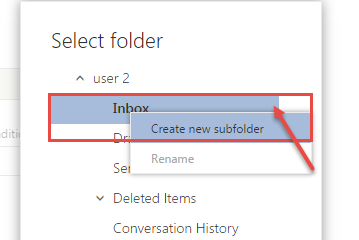
 Now, you can select any existing folder and create new folder/sub-folder, e.g. right click on inbox and select “Create new sub-folder”.
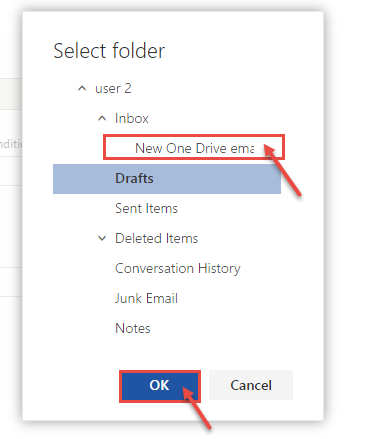
  Enter the name for sub-folder like “New One Drive Emails”. Click OK.
- Name: Enter the name for the rule.
- Now you can see full details you selected for creating new rule in following image. Click OK.
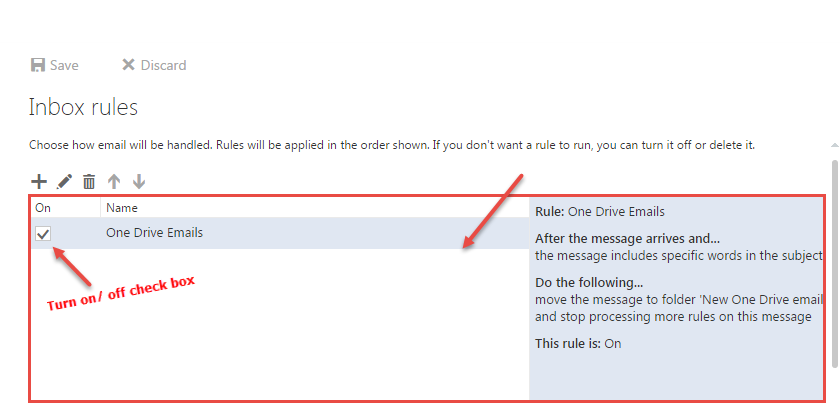
- New rules are created. If you want to apply this rules, you can turn on otherwise turn off.
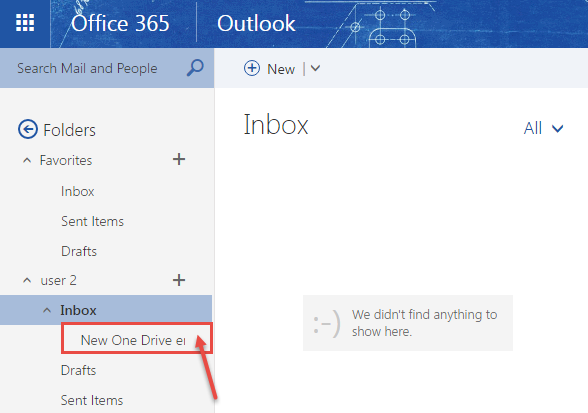
- If you want to check the new sub-folder created, exit from “Options and expand “Inbox”.
