To get into the Conditional Formatting first be sure you are in the Inbox folder of emails in Outlook. You can set colors, fonts and styles using the Conditional Formatting in Outlook. It is easy to set up by following these instructions:
- Click on the “View” tab and select “View Settings”. Click on the “Conditional Formatting” button.
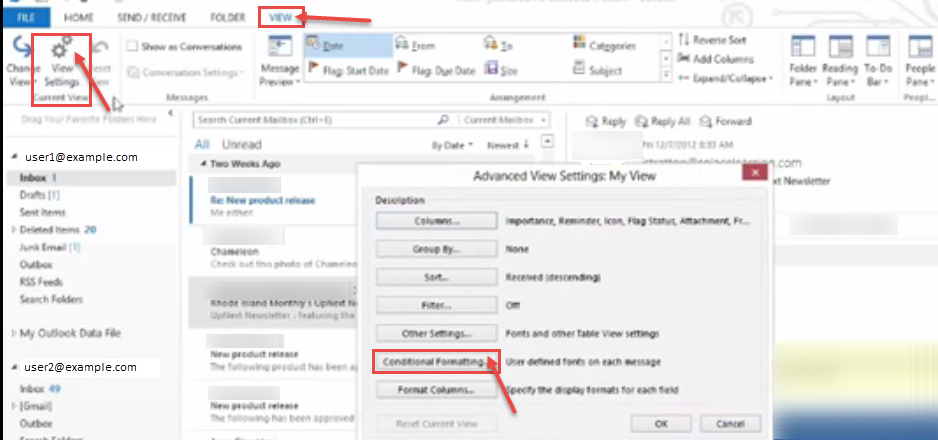
- The “Conditional Formatting” window appears where you will need to click on “Add” to start the process of creating a Conditional Formatting rule. Every new rule will need a “Name”.
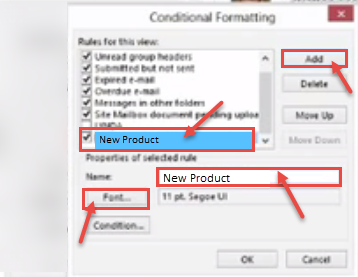
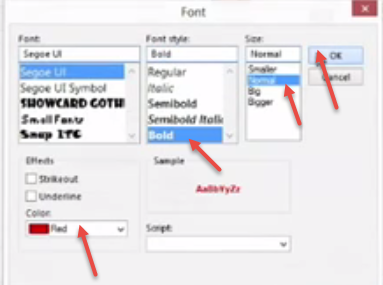
- Click the “Font” button as shown in the above image. The Font dialog box appears where you can choose, Font, Style, Size and Color. Click “OK”, when finished.
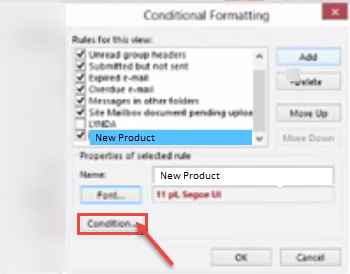
- Click the “Condition” button on the “Conditional Formatting” dialog box.
- Start the “Filter” to find emails In the Search for the word(s) box, type the word that would appear on the Subject of an email that you want to appear as a certain color/format. Notice in the drop down by which you can choose subject field and/or message body for searching the required phrase. Type the email in “From” field.
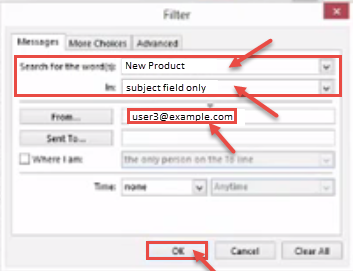
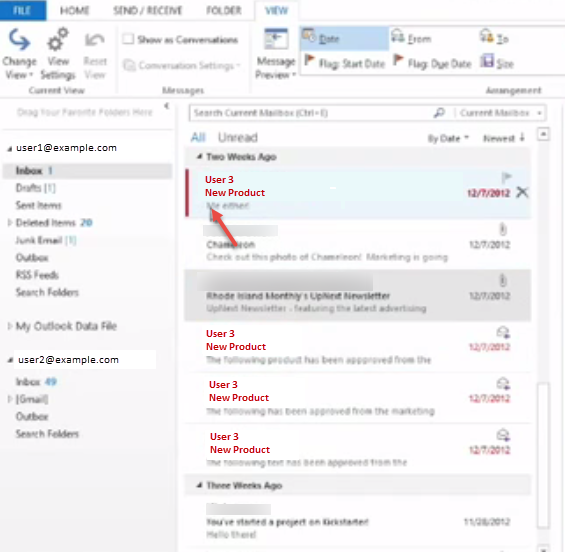
- Click OK on the “Filter”, Conditional Formatting, and Advanced View Settings dialog boxes to get back into the Inbox of Outlook. Now, you can see the change in middle pane.
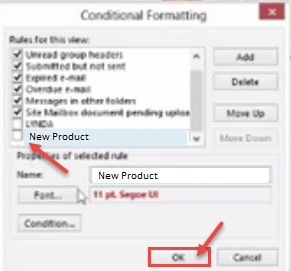
- To delete the rule for conditional formatting, click on the “View” tab and select “View Settings”. Click on the “Conditional Formatting” button. The “Conditional Formatting” window appears. Now, uncheck the new product option. You can also “Delete” the formatting rule. Click “OK” to close the dialog box.
- You can use many different formatting conditions as per your requirement.
Click here to change default font colour in Microsoft Outlook 2016.

