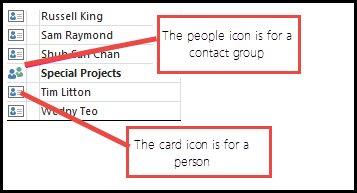
Outlook 2016 has a great feature where users can use Groups instead of distribution lists to communicate and collaborate with your team members. Teams now have a shared place for all their email conversations with full history, allowing teams to engage with members right from the Group’s inbox, create team events, join existing Groups or create new ones.
- Your can find out the Groups feature under navigation bar contacts icon as shown in the image below:

- Click on the contact icon from navigation bar then this screen will pop up:
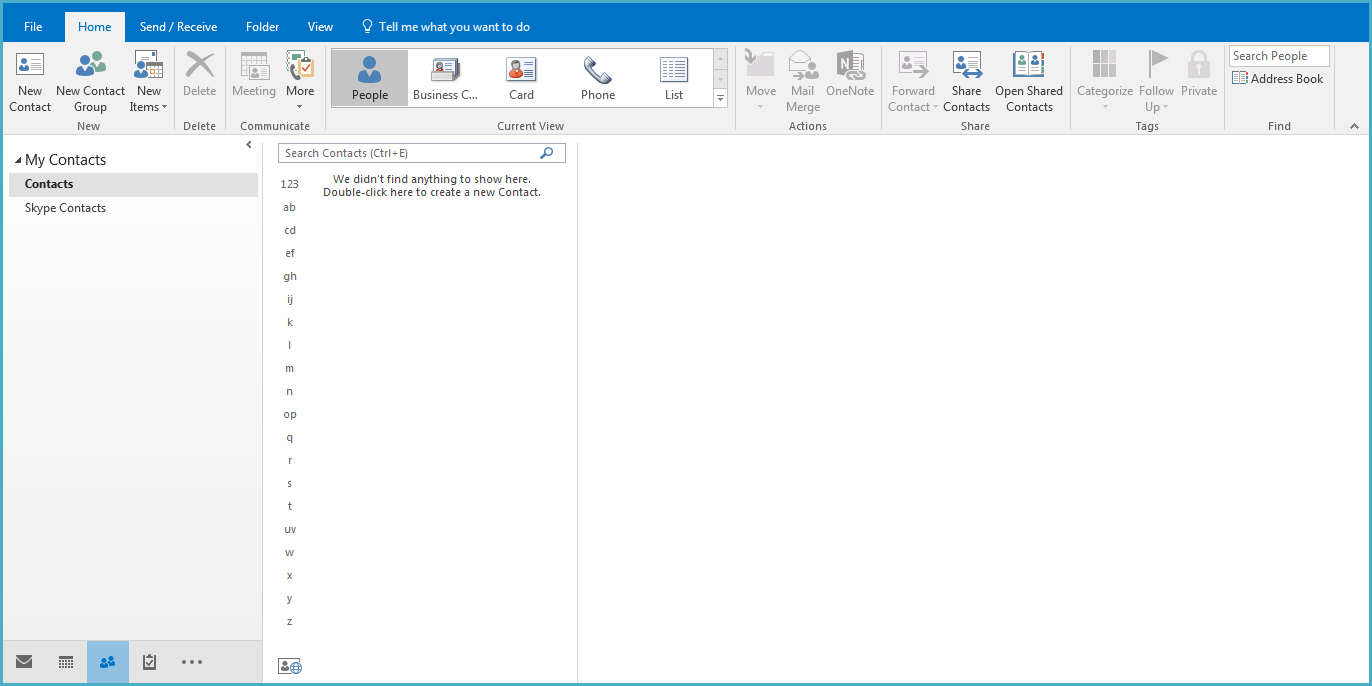
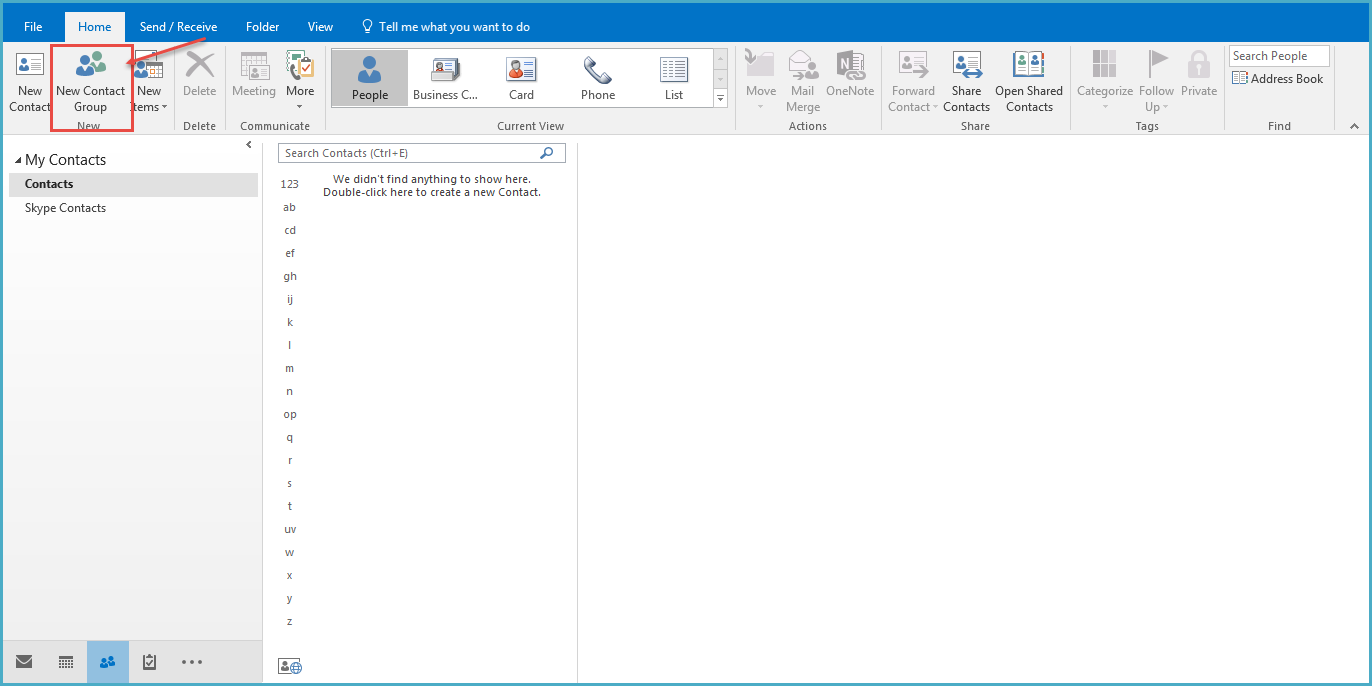
3.On the left side of the window there is an option ‘New Contact Group’ click on the icon.
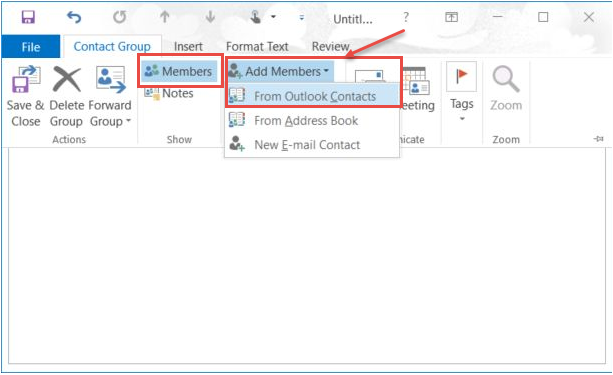
4.When user click on this option in outlook, another window will open with the members and add members option as shown in the image below: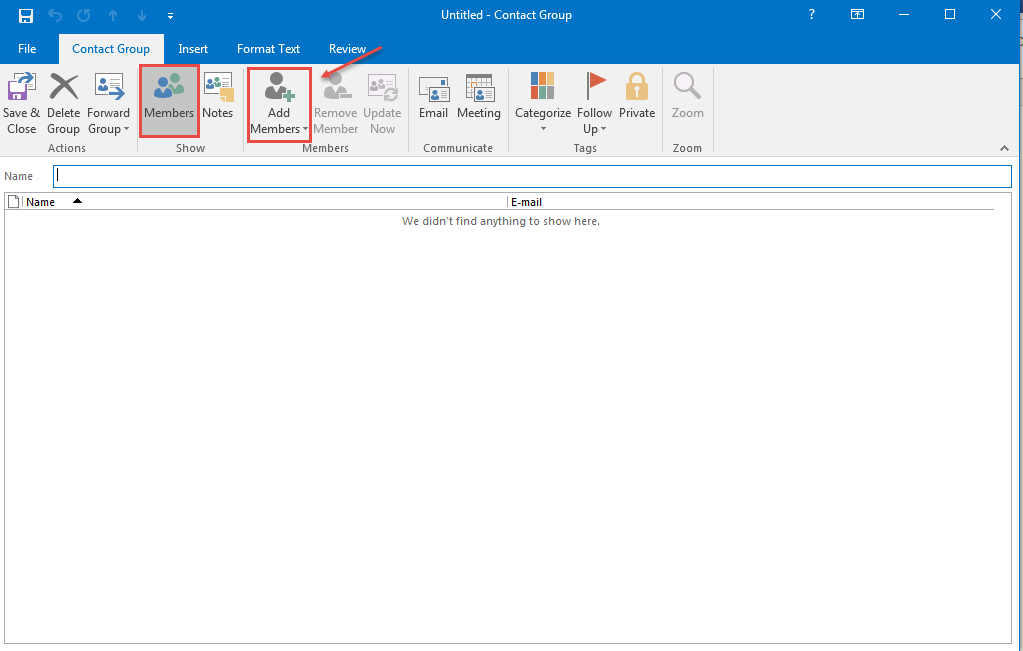
- Under the Contact Group tab, click Add Members and select from Outlook Contacts see the image below:
6.If there is no contact in your member list, then you will be prompted to add members. In order to do this follow the steps below:
- Open the message so that the person’s name is shown in one of these lines:From: To: Cc: or Bcc:
- Right-click the appropriate name, and click Add to Outlook Contacts. A new window opens; in which you can fill in the details you want.
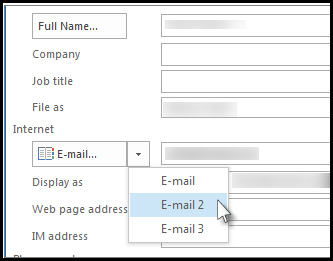
- Outlook inserts the contact’s email address in the Email box, and any other information about the contact that’s available in the message in the appropriate boxes. See the image below:
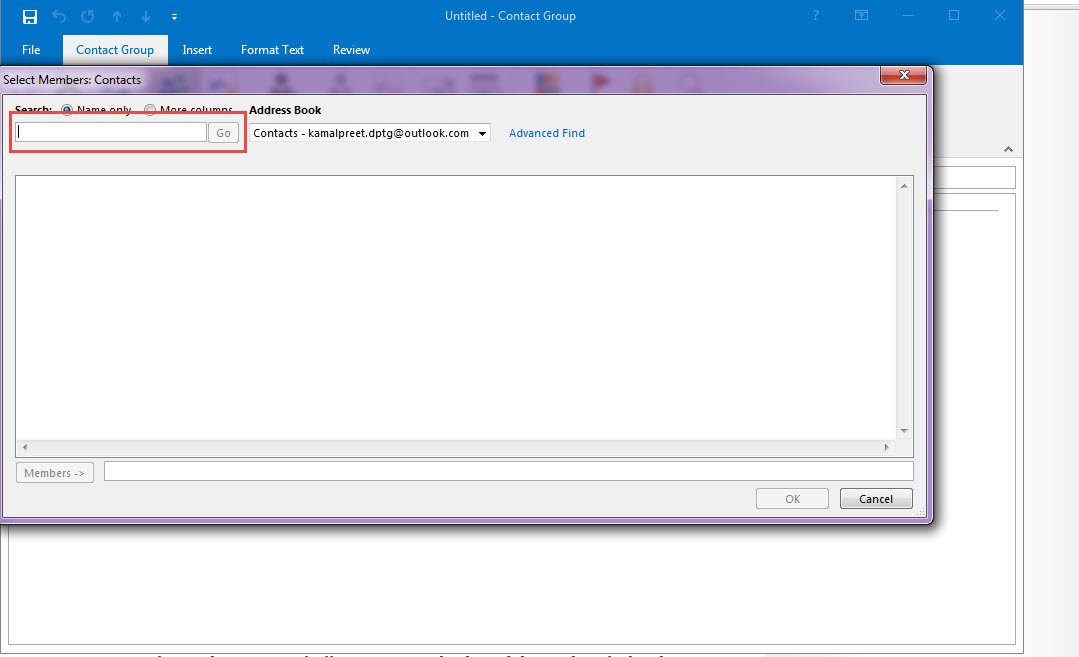
7.After adding the contact to outlook contact list the user will be able to create group from these contacts:
8.After completing this process you can assign a name to the group.
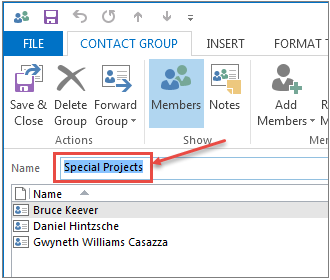
9.Now user’s group is created and the icons in user’s email will be shown like in the image below: