In Microsoft Office 365, you can manage the life cycle i.e. the time till which messages are stored in your inbox and then deleted automatically, after the specified ‘time-frame’ is reached. It allows users to implicitly clean their inbox, instead of explicitly putting efforts for that. To setup retention/archiving policy, follow these steps –
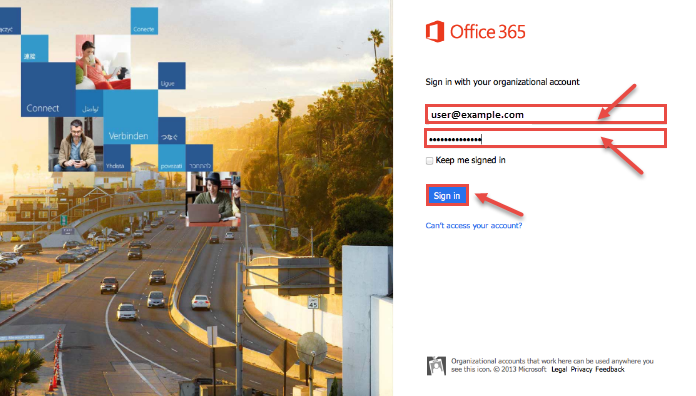
- Sign into your Microsoft Office 365 account.
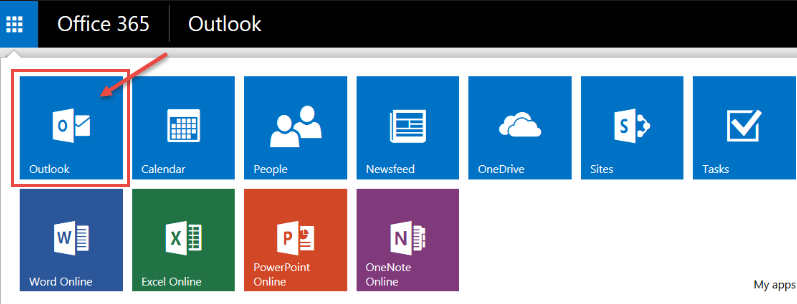
- From the “App Launcher” in the navbar, select “Outlook or Mail”.
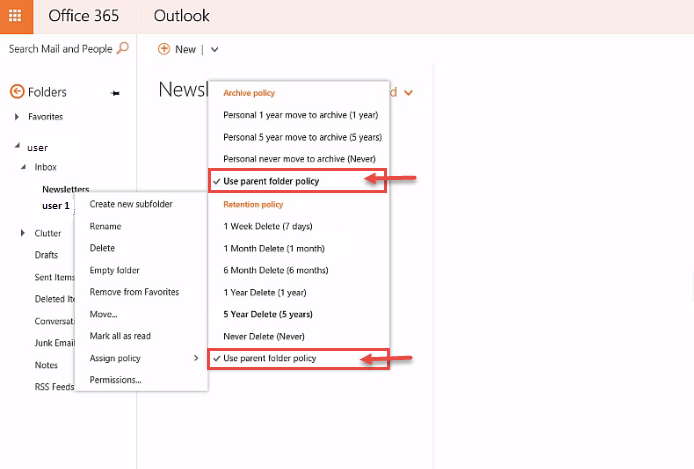
- Now, right-click on the folder or message for which you want to set retention/archive settings, and select “Assign policy” from the context menu.
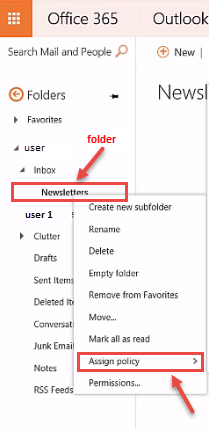
- Select the policy you want to apply on selected object – folder or message. The default for both Archive policy and Retention policy is “Use parent folder policy“.
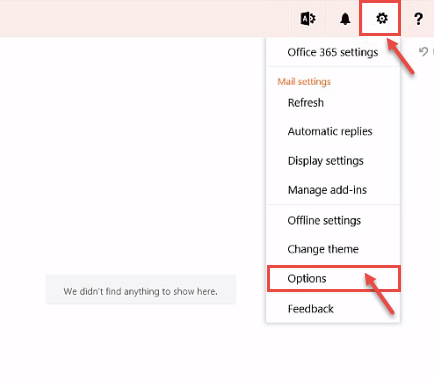
- If you want to have custom values for the Retention policy, from the right-top, select Settings and then Options.
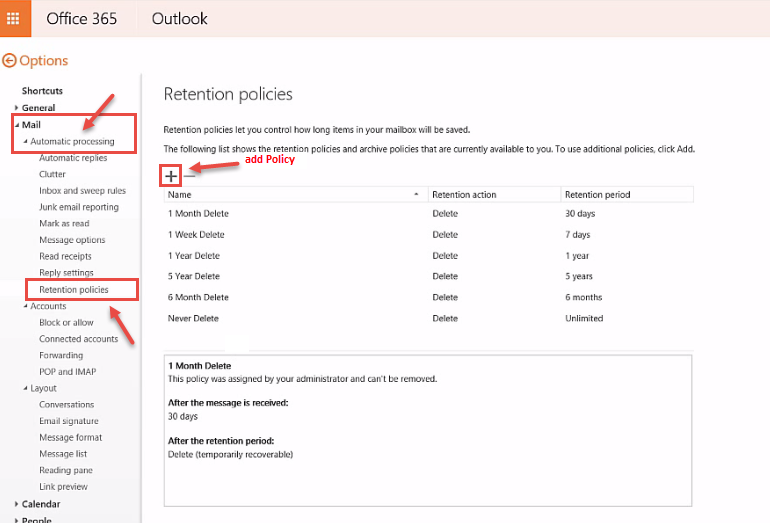
- In Options, select Mail and then Automatic processing. From the expanded view, click on Retention policies. To add a custom, click on ‘+’.
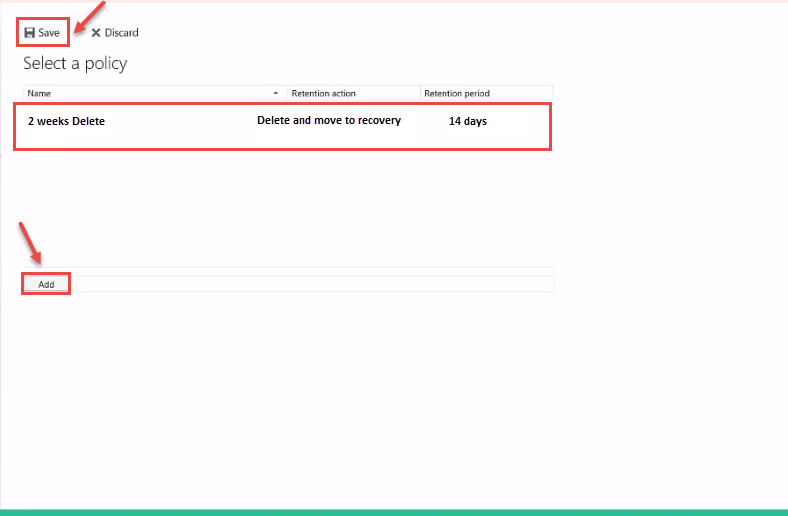
- Now, specify policy name, retention action and retention period. Specify, “What happens to a message when the retention period is over” under retention action and how long a message will stay in your mailbox, under retention period. Click Add and Save.
- Now, you can apply this custom policy on any message or folder. Go to home screen and select a message/folder in inbox folder. Right click on it (as explained in steps above) or click on “Assign Policy” on top and select “Set Folder Policy” option.

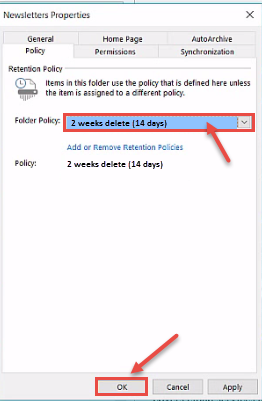
- Finally, folder properties dialog box pops-up. You can select policy and click OK.
