A group includes a shared work-space for email, conversations, files, and calendar events so group members can communicate, collaborate, and quickly get stuff done. To create a group, log into you Office 365 account by
- Outlook on web
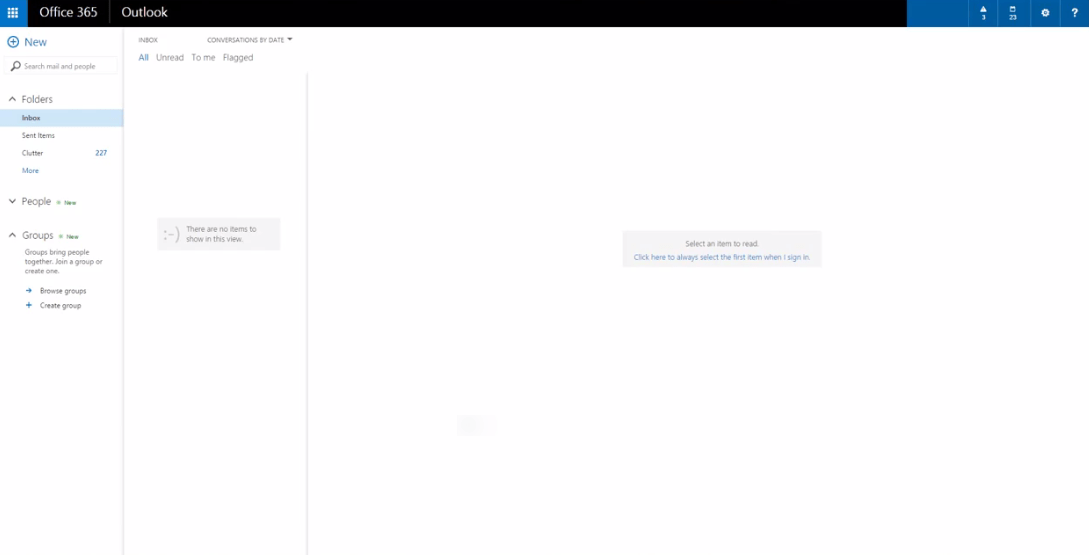
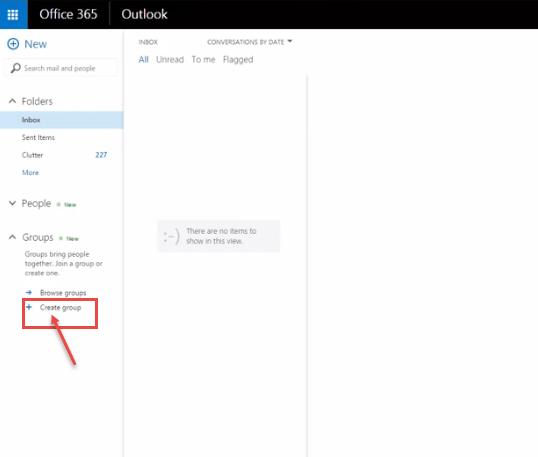
- After logging in, expand the “Groups” node and then select “Create group” option.
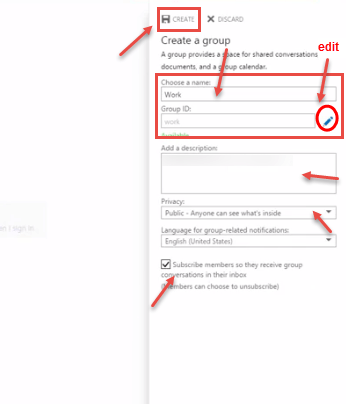
- Enter a name for the Group. Outlook will automatically create “Group ID” and confirm it’s uniqueness across the domain. You can manually edit the group id by clicking on Edit icon, next to group id box. Add description, specify public or private settings for the group. Select “Subscribe members so they receive group conversations” in their inbox and click on “Create”.
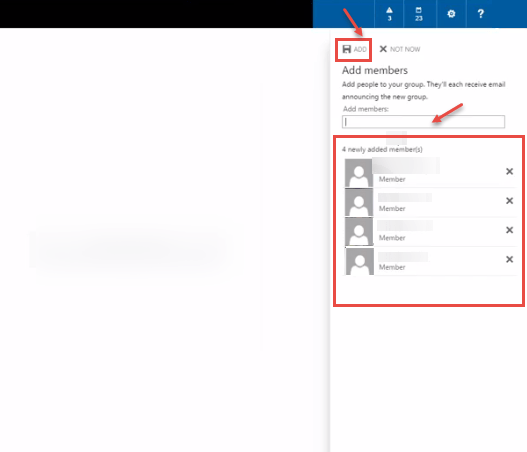
- Once a group is created, you can add members to your newly created group. Search for the desired username by typing the email or name and then select from the suggestion list. Once you are done, click on “ADD” to close the dialog box. You may skip this part by selecting “Not Now”.
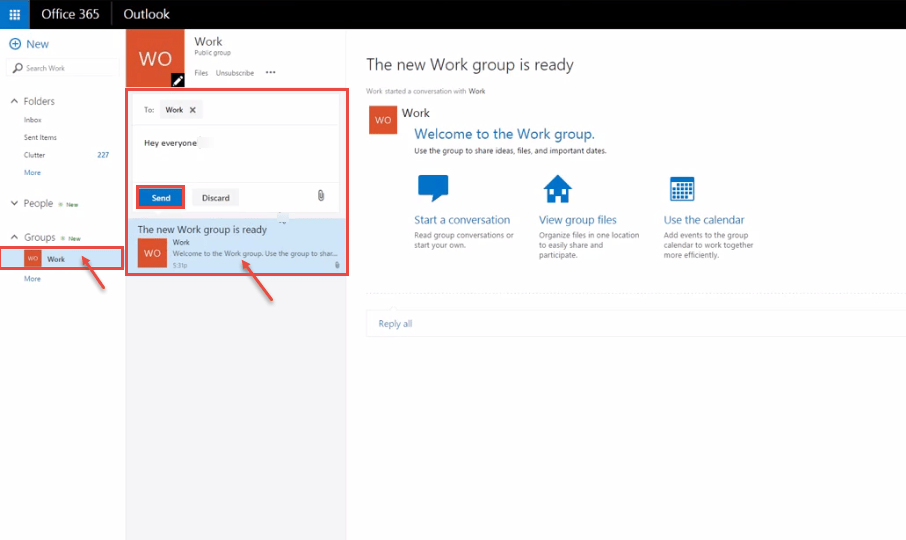
- When you close the “Create group” dialog box, you’ll see your newly created group on the left navigation pane and a Welcome email in your group’s inbox. You can start conversation with group members.
 You can also create a “Distribution Group” in Office 365. To know the details, click here.

